Curling with a Flat Iron: Top Tips


When it comes to achieving glorious curly locks, everyone has their preferred way of doing things. Some love the bouncy spiral curls they get from a classic curling wand, others swear by natural methods, like sleeping with foam rollers in their hair overnight. For us? It’s all about curling with a flat iron!
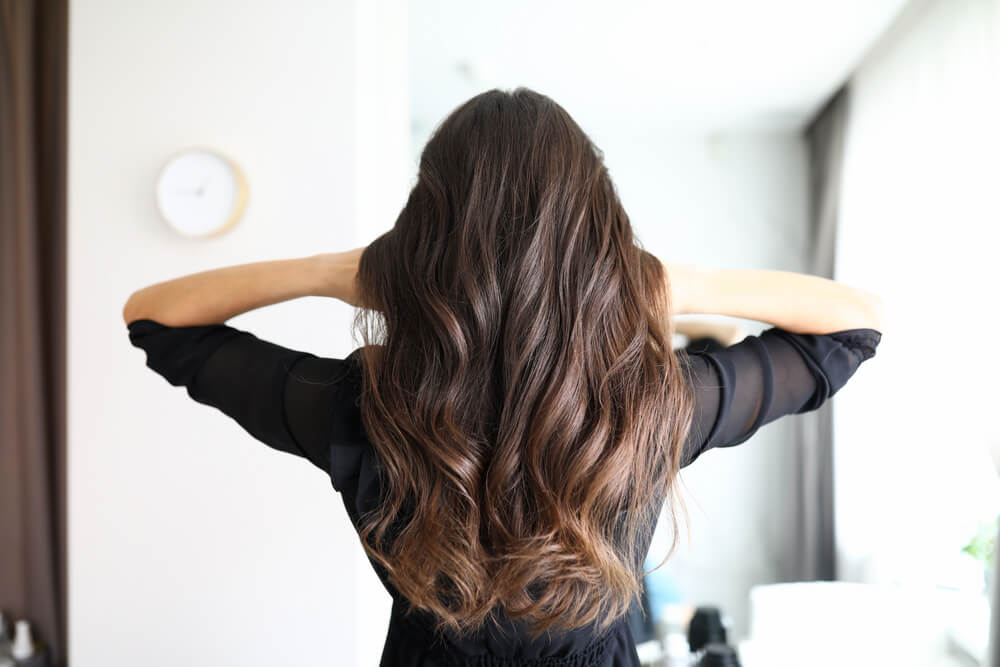
Yes, if you’re after versatile curls you can create in minutes that work on all types of hair and look natural all the while, we know you’ll love them too.
The question is, how do you master the art of curling with a straightener? Don’t worry, it’s really not as tricky as it sounds. And, to make sure you nail the technique, Evalectric is here to fill you in on all of our curling with a flat iron: top tips! So keep scrolling. Beautiful, natural-looking curly hair awaits…
Choose the Right Flat Iron for Your Hair Type
First thing’s first for our curling with a flat iron: top tips, it’s time to choose the right flat iron for you and your locks.
When selecting any new heat tool it’s so important to pay attention to the length, texture, and thickness/thinness of your hair. For example, if you have very long thick locks, they’re likely to get weighed down easily. That means you’ll need a flat iron capable of getting hot enough to curl your locks without damaging them.
On the other hand, if your hair is very short or super-fine, you’ll need a flat iron with temperature control. This will allow you to precisely select the amount of heat you’re exposing your hair to. You’ll also have the option of lowering it if you feel the heat is damaging your precious tresses.
Meanwhile, the width of the plate is also something to take into consideration. Thicker hair will benefit from wider plates whereas shorter locks may only need a mini/travel straightener with a thin plate. Once you’ve worked these things out, it’ll be much simpler to purchase a flat iron that suits your hair’s specific needs. You’ll be able to find one that can give you the gorgeous curls you desire!
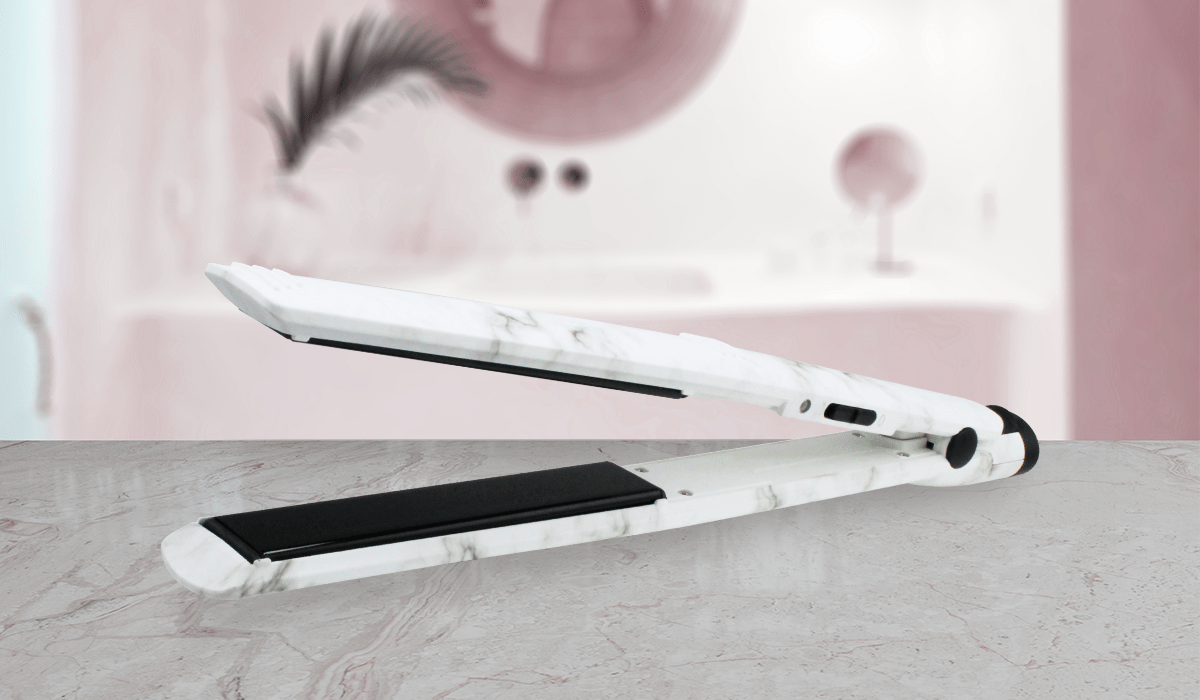
Go for a Classic
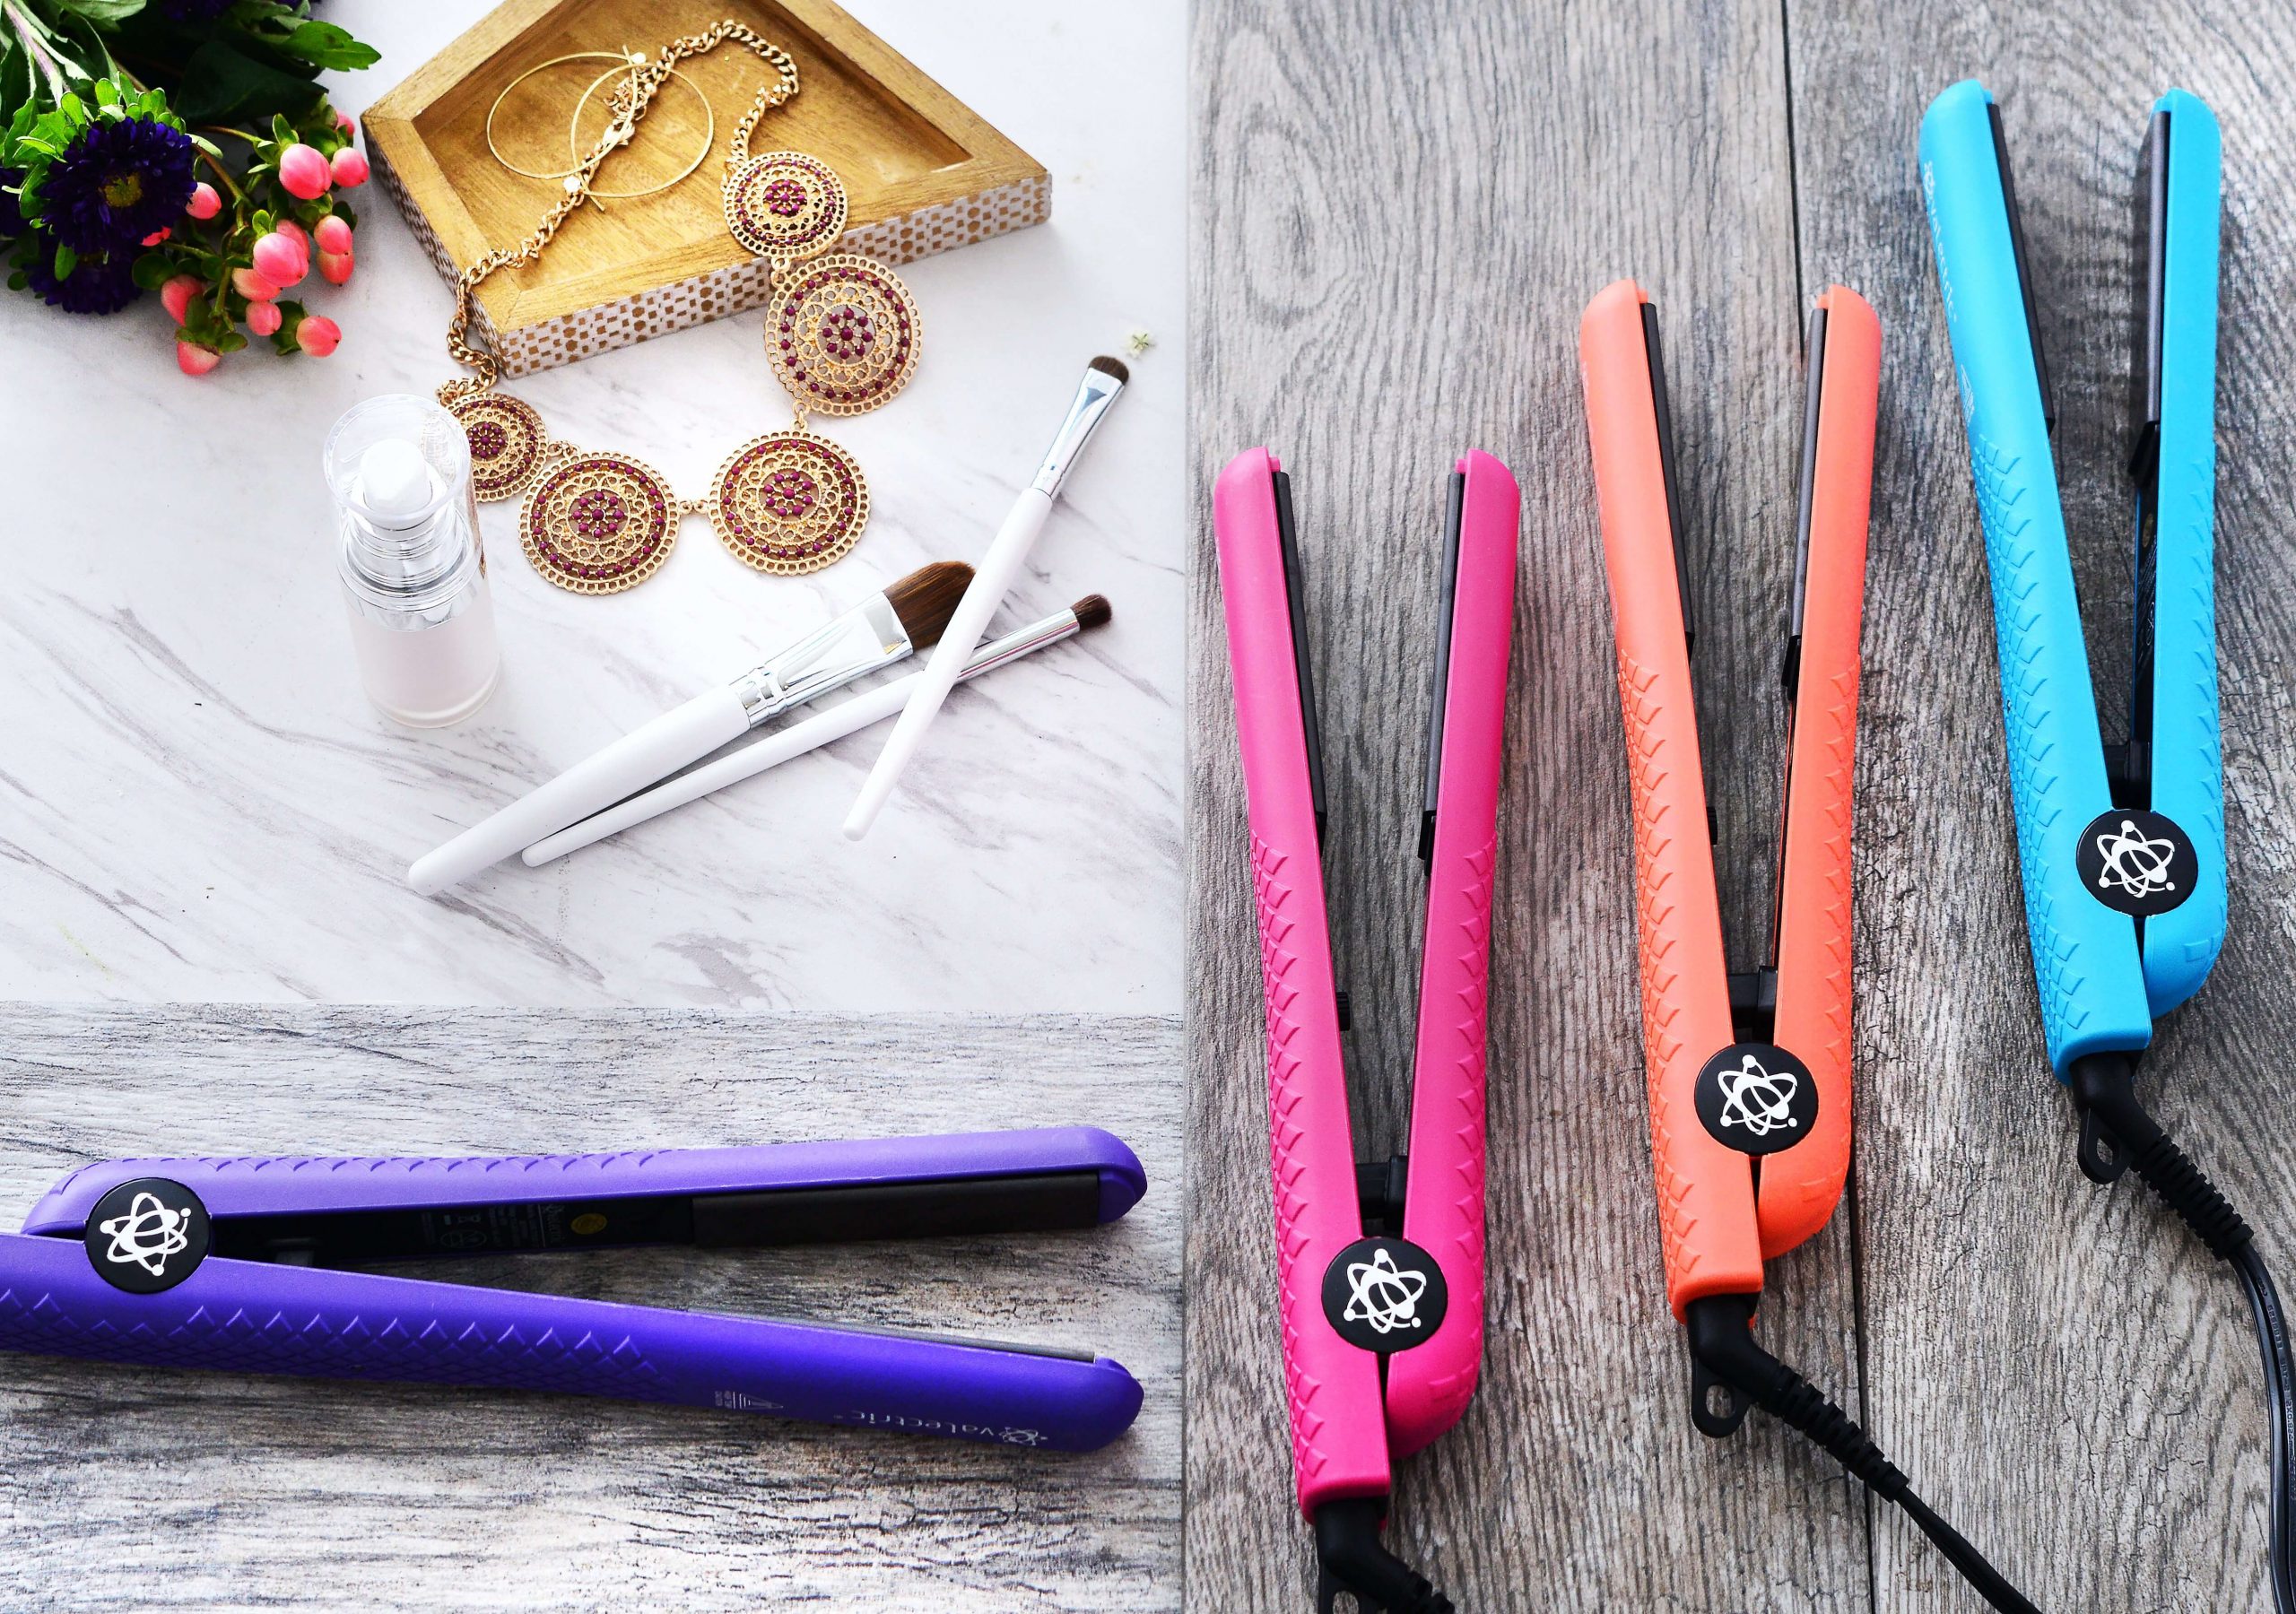
Undecided? The Evalectric Classic Styler is always a good choice and works well for the majority of hair types. Our advice? Treat yourself (and your dresser!) to the best-selling Sweet N’ Flower printed Professional 1.25 flat iron. It has all the same features you know and love from the Classic styler but looks extra pretty!
If you need more specific recommendations for your hair type when it comes to curling with a flat iron: top tips, we have you covered.
For those with very long or very thick hair (or both!) opt for a model like the Ultra Turbo Styler. This amazing flat iron has 1.25” plates that heat up to an impressive 500°F. Also, the plates are 100% ceramic, meaning they’ll reduce heat exposure and be kinder to your hair when styling with these super high temperatures. As if all that wasn’t enough, they also boast floating plate technology. This makes it possible for you to effortlessly curl your hair with them, as well as straighten or add natural-looking waves.
If your hair is shorter, thinner, or a combination of the two, opt for the Mini Classic Styler. This amazing mini styler is perfect on-the-go, but is also ideal for shorter or finer tresses thanks to its smaller size. That said, you won’t be compromising on quality with these 1/2 ceramic plates. They’re ideal for curling at home or away and will pack neatly into luggage should you want to take them out on vacation with you!
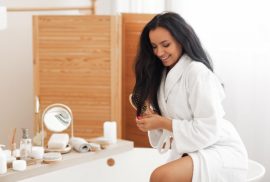
Start With Second Day Hair
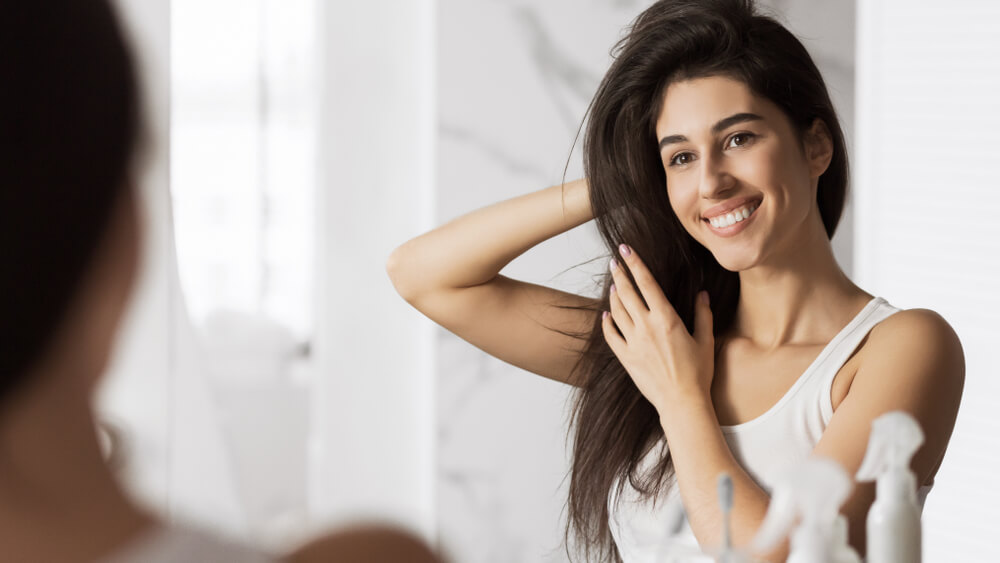
Now that you have your heat tools sorted, it’s time to get your hair prepped for curling.
One of our favorite curling with a flat iron: top tips?
Begin your curling sesh with second-day hair.
Now, we’re not saying it won’t work on freshly washed hair. After all, you might have hair that holds curled styles well even when your hair is silky smooth! In our experience though, second-day hair does seem to grip better and the style generally lasts longer.
Why?
We’re glad you asked.
When you wash your hair, you wash out the dirt, grime, and dead skin. However, you also wash away your hair’s natural oils known as sebum. Sebum is what keeps your hair looking and feeling healthy. It’s also what gives second-day hair that amazing texture and hold.
Since it usually takes around 24 hours for sebum to properly return to our hair after washing and drying it, we recommend waiting that long to begin curling. You’ll also find your hair looks healthier and shinier if you wait. This is because the sebum also works to protect it from the heat. That probably won’t happen if you go straight in with heat tools right after washing and blow-drying.
Now, if your hair naturally produces sebum quite quickly and you’re happy to curl your hair after a couple of hours, you can. In that case, however, we highly recommend using the Evalectric Moisturizing Shampoo and Conditioner first. The amazing combo will smooth the feel of your hair fibers, making them easier to untangle. Its also enriched with proteins derived from plants and argan oil that’ll hydrate your locks from root to tip. Finally, the conditioner will help revitalize the feel of your scalp.
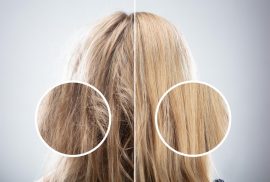
Make Sure Your Hair is Tangle Free
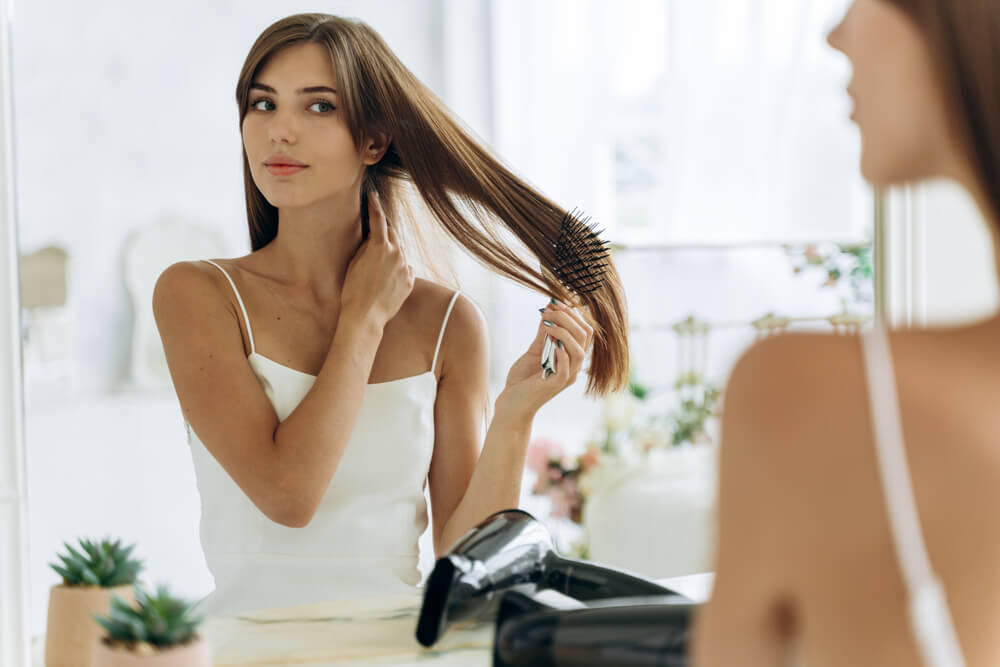
Before you begin curling your hair, we have another of our trusty curling with a flat iron: top tips! It may be a simple one, but trust us, it’s not a step you want to skip when trying to create gorgeous curls. Before you even switch on your flat iron, make sure your hair is completely tangle-free.
This is essential for so many reasons, so we’ve gone ahead and listed them below:
It stops you from pulling your hair
As anybody with tangle-prone locks knows, getting your hair into any kind of style, let alone a full head of curls, is a struggle at the best of times. Avoid accidentally tugging on or, worse, snapping your hair by gliding a wide-tooth comb or detangling brush through your lengths first.
It makes the hair easier to section out
Either before or during the curling process, you’re going to be sectioning out your hair. If it’s super tangled that won’t be possible – or it’ll hurt a lot! Smooth out your hair before you get started and section out each layer to make the curling process simpler
You’ll create sleeker, more uniform curls
If your hair is tangled and you manage to section pieces off and curl them anyway, you’ll quickly realize they’re looking pretty messy. This is because the flat iron can’t glide evenly over those tangle bumps so you’re left with uneven curls that don’t spiral. Make sure you can run your fingers or your brush effortlessly through the section you’re about to curl before applying the heat.
You’ll avoid the dreaded flat iron crease
One of the main reasons we dislike tangles when curling our hair? It leaves your tresses prone to unsightly flat iron creases! These happen when the flat iron stops abruptly because it can’t smooth over a tangle and creates a heat line.
If you’ve had one (or many) of these before, you’ll know that once you’ve ironed a crease into your hair, it’s almost impossible to get rid of it until you next wash it. And, we definitely don’t recommend you keep trying to straighten over it to remove it – that will only damage the hair more!
The takeaway? Avoid this altogether and simply brush your hair out first.
It’s kinder to your locks
As careful as we all are with heat tools, we know that they still aren’t our hair’s favorite thing. So, on the occasions when you do use your straightener for curling, at least allow the plates to glide over soft, smooth, tangle-free sections to cause as little friction and heat damage as possible.
Section Out Your Hair & Get Curling
Once your hair is completely prepped and ready, go ahead and spritz a little heat protection spray over your lengths to shield them from the heat. Now, section out your hair. We recommend sectioning out at the least the bottom and top half and tying away the part you’re not curling. If you have particularly long or thick hair, try three sections from top to bottom so you’re not overwhelmed.
Next, you can start curling each part of the first section you’ve let down. Start at the bottom and work your way up. As you section out your hair, make sure you have a good technique.
Wondering if we have hints for that too?
Keep scrolling for our curling with a flat iron: top tips for technique!
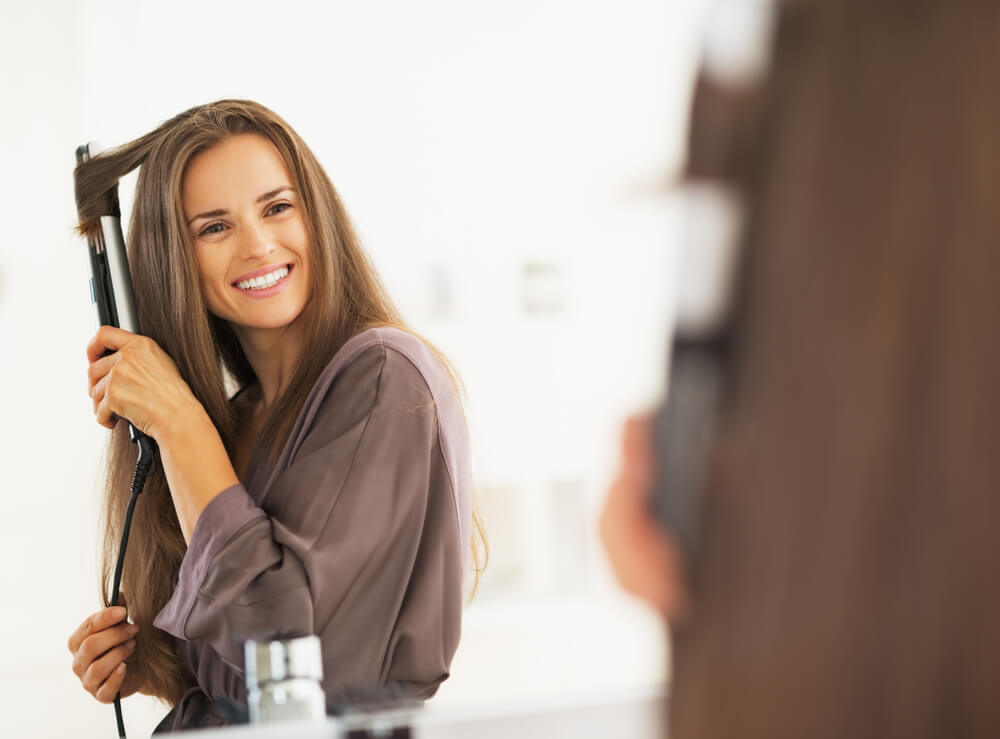
Start at the Root
To begin, start with your flat iron near the root of the piece you’re curling and hold it at a 45-degree angle. Even if you want the curl to start later, still hold the flat iron and begin here as you’ll create a neater, sleeker look overall. Clamp the straightener down and begin smoothing the plates along your hair towards the tips. When you reach the part of your hair where you’d like your curl to start, go ahead and jump to the next step!
Pivot Your Flat Iron
To create the curl, begin rotating the straightener, making sure to keep it held at that 45-degree angle. Give it a half-turn, then gently pull it down and away from your face with the plates clamped on the hair.
Don’t Tug Your Hair
As you pull down, make sure the plates are clamped pretty firmly on your hair but with just a little resistance. You don’t want your hair to be pulling or stretching at the root at all as this will stretch the strands and damage them – especially whilst they’re exposed to such high temperatures!
Finish Your Curl
Depending on the type of curls you’re looking to achieve, you’ll either want to curl your hair all the way to the end or stop just before. The first option will give you more of a spirally, ringlet-type curl. The second will result in more of a beachy curl with loose ends. Decide before you start so you know when to release the plates.
Define Your Curls
This has to be one of our most valuable curling with a flat iron: top tips! If your hair tends not to hold a curl well or you’re simply looking for a little extra definition or bounce, you’ll want to do this one small thing after each piece of hair is curled. Just keep in mind, it’ll only really work if you’re curling all the way to the ends!
The moment you release the plates, set your flat iron down on a heat-resistant mat. Then, use your hands to scoop the curl up so it wraps into a circle that you can hold against your head. Press the curl against the rest of your hair near the roots and allow it to cool for 15-20 seconds, or longer if your hair is thicker. This will stop the curl from immediately dropping when you release it and will make them last so much longer!
Set Your Curls
Once your hair is all curled and you’re please with the result, go ahead and spritz your hair all over with a little of the Evalectric Hair Styling Spray. If the ends are feeling a little dry, we also recommend warming up a couple of pumps of our lightweight Hair Serum between your palms and gently smoothing it onto your looks for a healthy glow!
Which of our curling with a flat iron: top tips was your favorite? Do you finally feel ready to give it a go? We’re pretty sure the answer is yes and we’re certain you’re going to look amazing!
If you’d like to treat yourself to a new flat iron to achieve perfect curls, check out Evalectric’s full range here.