How to Create Tight & Defined Skinny Wand Curls


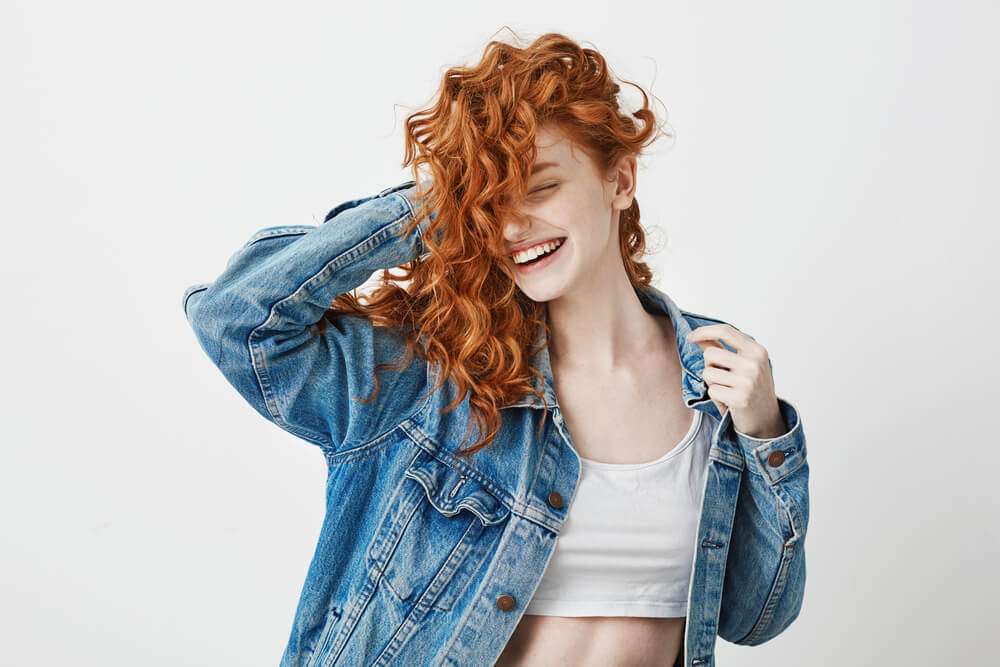
If you dream of creating the most beautiful skinny wand curls but have never quite got the technique down, we understand and are here to help. From how to prep your hair beforehand to the best technique for curling the hair, as well as how to maintain your new style afterward. We here at Evalectric are about to talk you through every stage of creating beautifully defined, skinny wand curls that will make you look and feel unstoppable!
Prep Your Hair
Before settling in for this marathon curling session (which is totally worth it by the way!), begin by ensuring your hair is prepped for curling. To guarantee yours is, we’ve prepared a handy checklist of do’s and don’ts to tick off before switching on your Evalectric curling wand.
Create Your Chosen Style On Freshly Washed Hair
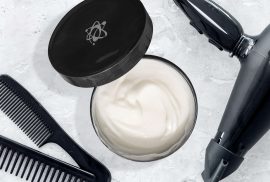
Before you do anything with your curling iron, start your skinny wand curls journey with freshly washed hair. Cleanse your strands with a high-quality product such as the Evalectric Moisturizing Shampoo. This will smooth out the look of your locks so your hair will be easier to untangle and will look and feel silkier and shinier too.
Go Easy on the Conditioner
Though we, of course, want and promote hair that feels healthy, when your locks are extremely smooth, they can become a little too silken to actually hold a curl.
With this in mind, those with particularly silky smooth tresses might want to hold off on the conditioner during their pre-skinny wand curling wash!
If your hair is very dry, however, and you need the extra moisture boost, go ahead and apply your Evalectric moisturizing conditioner as usual. If you think you could do with a little extra moisture but don’t want to overdo it, simply apply a small amount just to the very ends of your hair. This way it won’t dry out with the heat, but also doesn’t become overly slippery as you style it.
Treat Your Hair with a Heat Protection Spray
Before blow-drying, and certainly before curling, remember to treat your hair with a heat protection serum or spray. You’ll be applying a lot of heat to a lot of hair and the last thing you want to do is damage your tresses and make them look frizzy. Especially when you’re going for a full head of voluminous, healthy-looking, skinny wand curls!
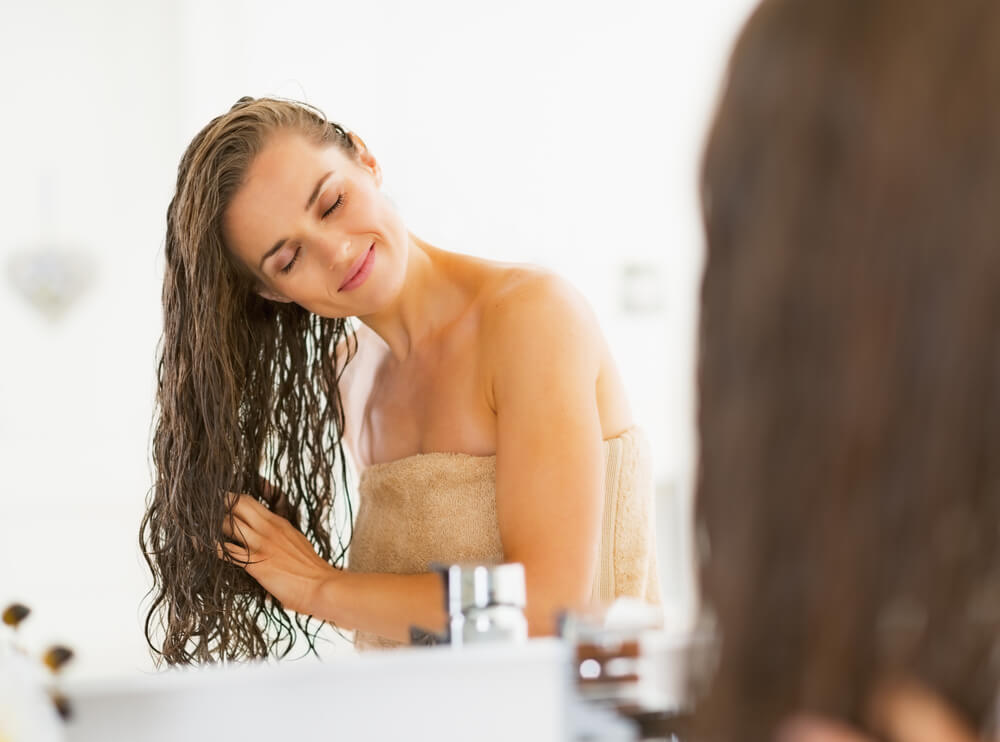
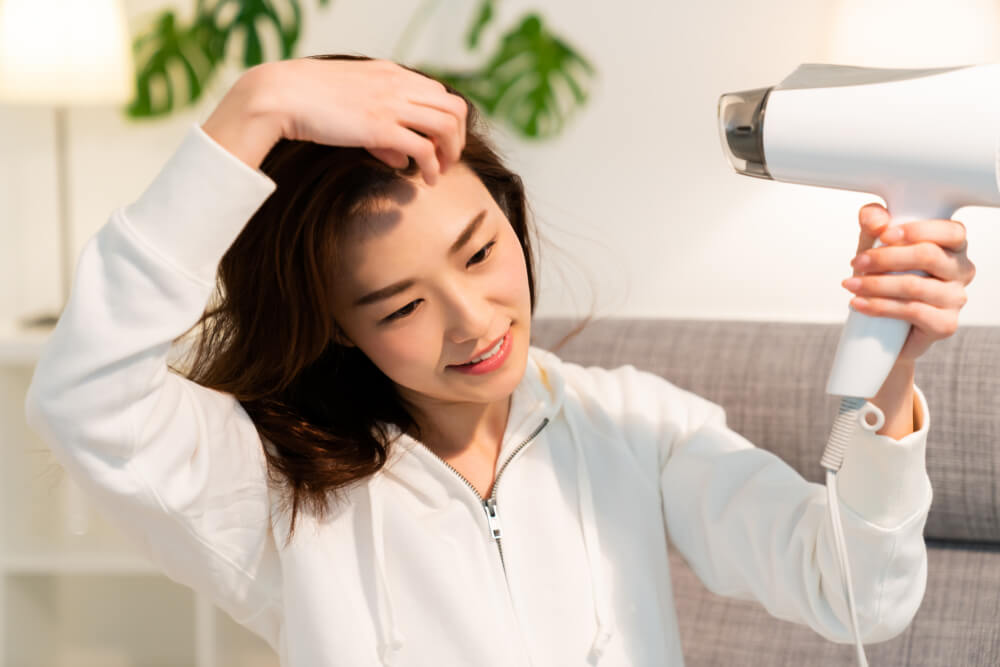
Make Sure That Your Hair is Totally Dry
Aside from the fact you’ll achieve a more even finish if your hair is fully dried, heat styling on wet hair is an absolute no-no!
Why?
It’s way more susceptible to damage!
When hair is wet, the keratin proteins that make up our strands form much weaker hydrogen bonds. Hydrogen bonds are responsible for holding together the hair’s structure. Therefore, when they’re in this weaker state, we need to be much gentler than we would with dry hair to maintain healthy, damage-free locks.
Resultantly, things like pulling on it too hard as we attempt to de-tangle our locks, roughing it up with a towel to dry it off, and especially, applying high levels of heat from a curling iron or straightener on wet hair risks long term heat damage. This often leads to all-over breakage, excessive split ends, and in some cases, completely frying the ends of the hair beyond repair.
Run your hands over the hair to make sure you haven’t missed any sections before beginning, and pay special attention to the back. It’s easy to accidentally leave a few stray wet hairs back there!
Don’t Use a Hair Oil…Yet
Whilst we love the look and health benefits that oils provide our tresses, we don’t recommend using them before heat-styling your hair. There are a couple of reasons for this. One, if you have oil in your hair and you then start applying the kind of high temperatures your heat tools reach, you risk the oil reaching an excessive temperature that can damage the hair instead of treating it.
Secondly, some oils can create drag through the hair. If you’re straightening your hair, this can slow your heat tool and cause it to pull on and aggravate the strands. When you’re curling, removing each section from the wand can be slower too which means your hair is in contact with the heat for longer than you need.
This said, it doesn’t mean there’s no place for hair oil when creating defined skinny wand curls – there definitely is! More on that later…
Ensure Your Hair Is Tangle Free
One of the best hair prepping tips we can offer when it comes to creating skinny wand curls?
Make sure your locks are tangle free!
As you’ll soon discover, you’ll need to be constantly dividing off small sections of hair to wrap around your wand. If your hair is tangled and you need to keep stopping to brush it out along the way, the process will take much longer. Additionally, brushing it out ready to be sectioned off will make your curls look much more even and give a sense of overall fullness when you’re done.
Creating Your Super-Defined Skinny Wand Curls
Now that your hair is prepped and ready to go, let’s talk through every step towards creating the dreamy, voluminous hairstyle of your dreams!
Choose Your Wand
First on the to-do list?
To create defined skinny wand curls you’ll need the right kind of barrel to do so. This is a personal choice and you’ll need to decide between a round or square skinny barrel, whichever you think you’ll get the most use out of.
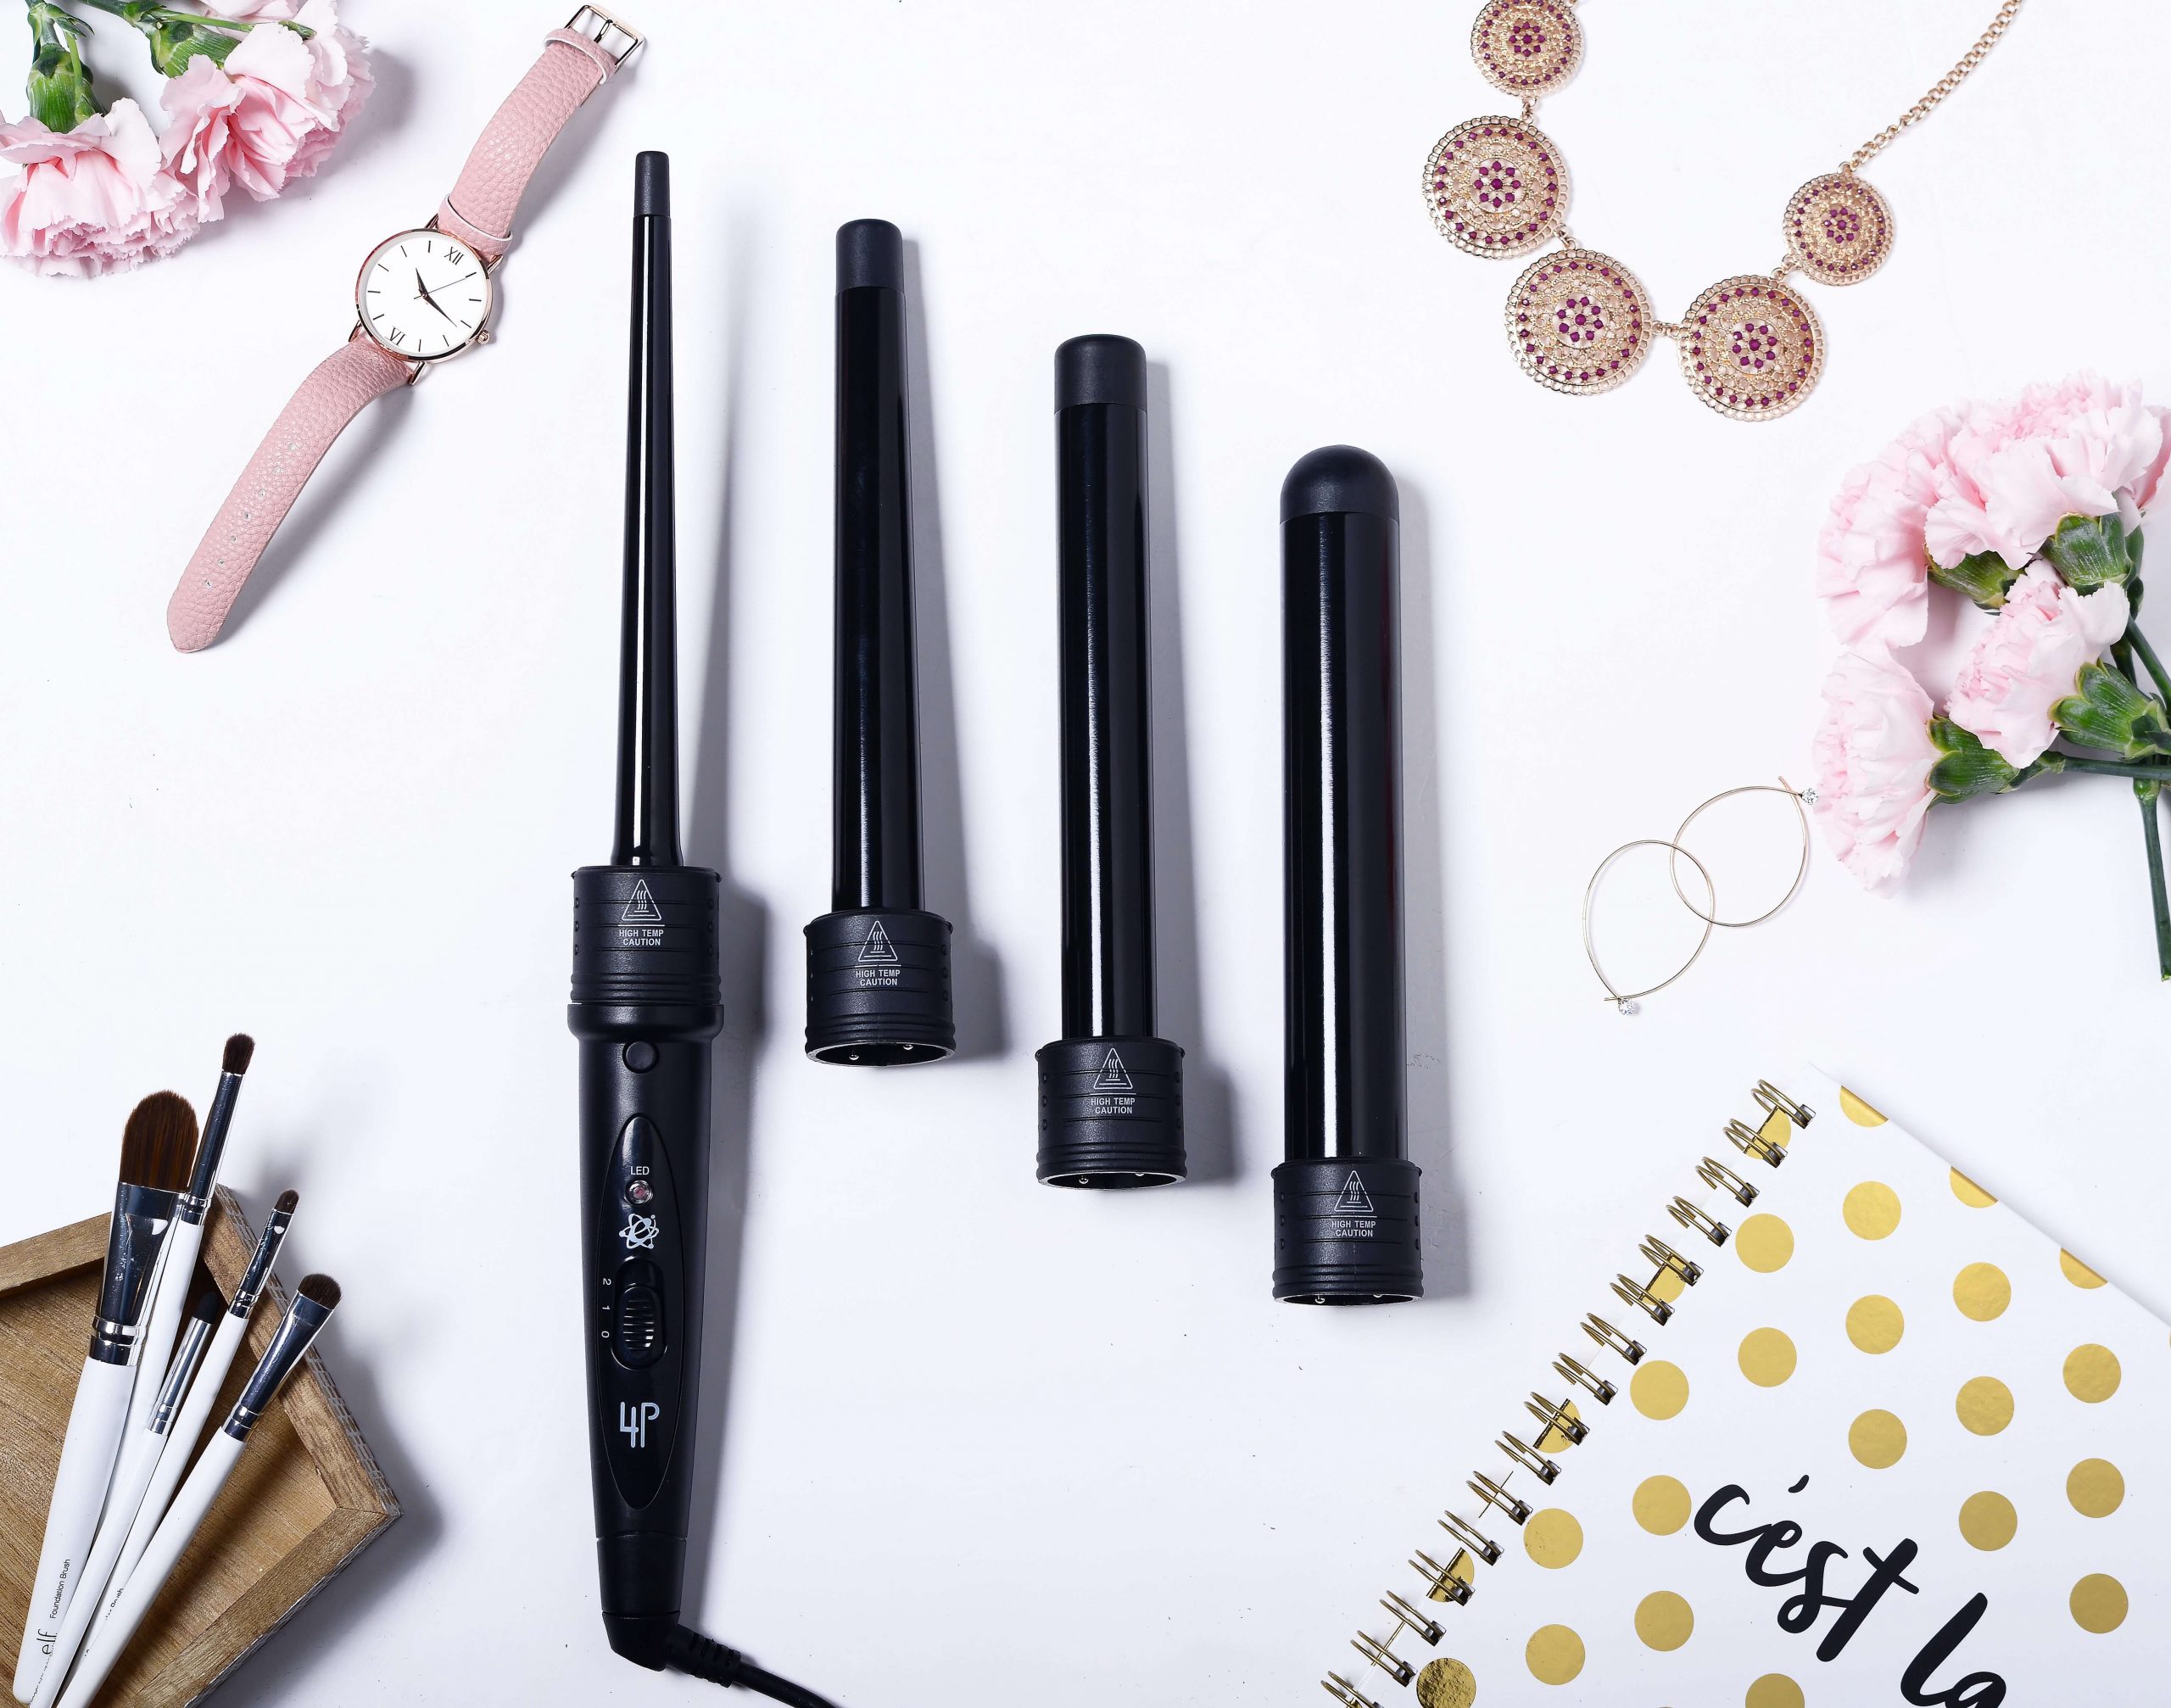
That said, if you’re really having a hard time picking one out, we highly recommend our versatile 4P Infinite styling set! It comes with four interchangeable clip-less barrels with a Teflon coating to create smooth-looking, long-lasting curls. What’s more, you won’t need to sacrifice one curly style for the other as you can create all sorts of curl sizes from wide, Hollywood style waves to the skinny wand curls we’re all so smitten with!
Check Your Heat Settings
Before you begin curling, go ahead and take a look at the temperature dial on your wand. Make sure you have it at the right heat for your hair texture. If your hair is very thick, higher heat will help maintain your skinny wand curls. If your hair is on the finer side, take the temperature down a little so your hair will still curl but won’t become damaged in the process.
Set your wand onto a heat mat to avoid any accidents and pop on a heat protection glove if you have one. This will come in handy as you repeatedly wrap your hair close to the barrel of the wand!
Section Out Your Hair
With a few clips or scrunchies to hand (avoid tighter hair bands that might create unwanted creases!) go ahead and section off the first area of your hair you want to work on, securing the rest away.
We recommend starting with the bottom section of your hair and working your way upwards. Remember, you’ll be curling very small pieces at a time so create smaller sections to make the process easier.
Take your time to separate small sections of hair (roughly the width of your skinny wand) from the bigger section you’ve created.
Hold Your Wand at an Angle
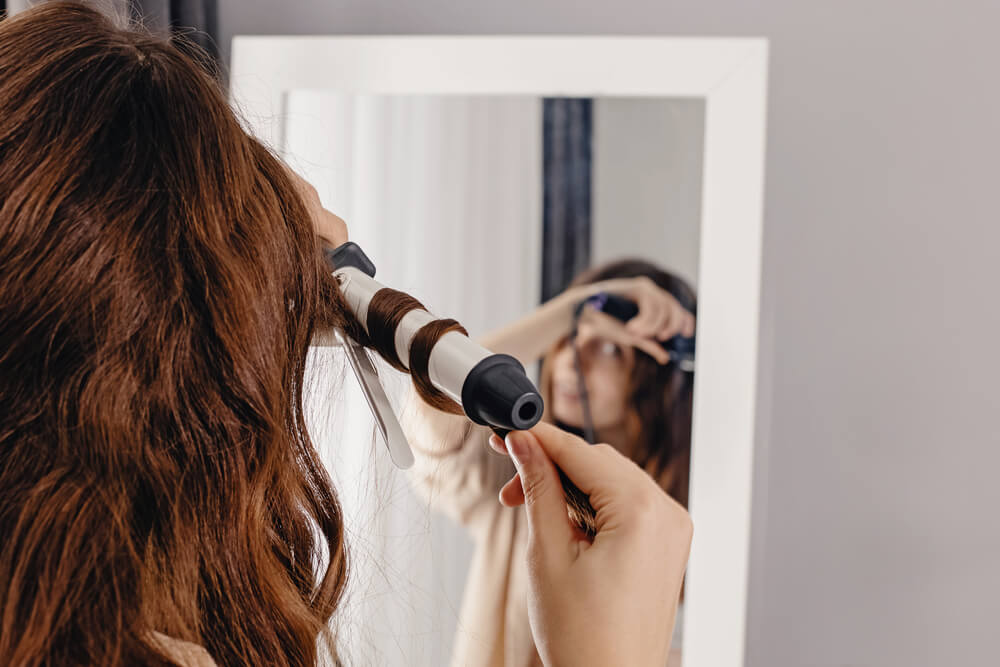
Then, holding the wand at a 45-degree angle, wrap each small section one at a time around the wand from the handle of the barrel towards the tip of the curler. Start right at the root to get that full voluminous tight curl look, otherwise, you’ll end up with straight roots and curled ends.
Side note: If your hair is thicker, don’t be tempted to use bigger sections of hair as this will only create larger curls and won’t result in the look you’re going for!
Don’t Hold the Hair on Your Wand for Too Long
Hold each curl on the wand for a few seconds only. Anywhere between 3-5 seconds depending on the texture of your hair should be fine. Any longer and you risk damaging those precious locks.
Unwrap Your Curls
Want to achieve the tightest skinny wand curls possible?
Make sure you do this…
Once you’ve held a section of hair in place for the right amount of time, swiftly unwrap the curl from the barrel as opposed to pulling the curler away from the hair. This will keep your skinny wand curls tight and defined rather than pulling on them and loosening their spiral formation.
Alternate Your Skinny Wand Curls
To give your hair a look of fullness and volume, we recommend alternating the direction of your curls as you go. Curling a few pieces away from your face and a few towards in each section will stop the curls from falling into one another creating one big curl as the day goes on. The opposite directions mean they’ll bounce off of one another instead, maintaining their fullness.
Avoid Doubling Up
What do we mean by doubling up?
It’s all about the way you wrap your hair.
If your hair is very, very long, this might be unavoidable for you and truthfully it’s not the end of the world. However, if when you wrap the hair you’re able to get the entire length of that section in contact with the barrel as opposed to having to wrap it back over itself, do so. You’ll notice your skinny wand curls are much tighter and more defined when you unwrap them from the wand!
Don’t Brush the Curl Out!
As tempting as it might be to give your new skinny wand curls a little comb through with your fingers as you go, trust us, you don’t want to do that!
Instead, let each curl set in a tight spiral as it comes off of the wand and allow them to cool. Will it look pretty at first? Maybe not. Will it be worth it in the end? You betcha!
Keep Going
We know, even after just one section of hair, it can feel as though the curling will never end! Your arms might feel a little numb right now but you’ll get there. Just keep going as you are, taking down a section of hair at a time until you reach the top section. This one will be slightly different…
The Top Section…
Once you reach the top and final section of your hair there are a couple of things to make sure of. Firstly whilst alternating curls is absolutely the right thing to do, when it comes to the sections of hair around your face, make sure you’re curling those away from your face.
Otherwise, the front curls will be sitting inward towards your eyes and will not only fall out easier but will look a little strange. Instead, curling them back and away will act as a frame that highlights your features and creates the type of volume we want!
Secondly, hold the wand horizontally when curling the pieces of hair around your crown. This will create more volume in the back and stop your style from going flat!
Make Sure You’re Not Missing Anything
With a style like this one that incorporates every section of hair, the last thing we want is stray straight hairs hanging down at the back, ruining the whole aesthetic. Use two mirrors or a buddy to check your hair from all angles and make sure every last piece is curled!
Flip, Separate, Part, and Set!
Now that all of those beautiful curls are in place, and your arms are about ready to drop off, comes the fun part. Separating the curls!
Using just your fingers to keep the curl definition (a brush or comb will simply create frizz so avoid those at all costs!), separate out all of your curls by gently pulling them apart and running your fingers through the hair. Go gently, you’ll be able to tell when you’re reaching your desired separation and volume.
Additionally, if you really want to amp things up, you can even flip your head over before you start and gently back-comb your roots at the back for added height and texture!
Once this is done, you can either leave it in a center part or flip it over to create a more bouncy, impactful shape to your skinny wand curls. Finish off with a spritz of our The New Evolution Hair Styling spray to keep your curls in place all day and night.
The Next Day…
After you’ve slept on this style you might find it’s a little frizzier or fly-away than when you first did it. Well, don’t panic as it can be fixed! Take hair oil or, better yet, the non-greasy Evalectric hair serum, and rub a little into your fingertips. Run your hands through your hair and smooth out the look of any dry, frizzy areas that have appeared, and, voila! Your skinny wand curls will once again look defined and as beautiful as when you first created them!