Your Complete Hair Care Routine for Stunning Results
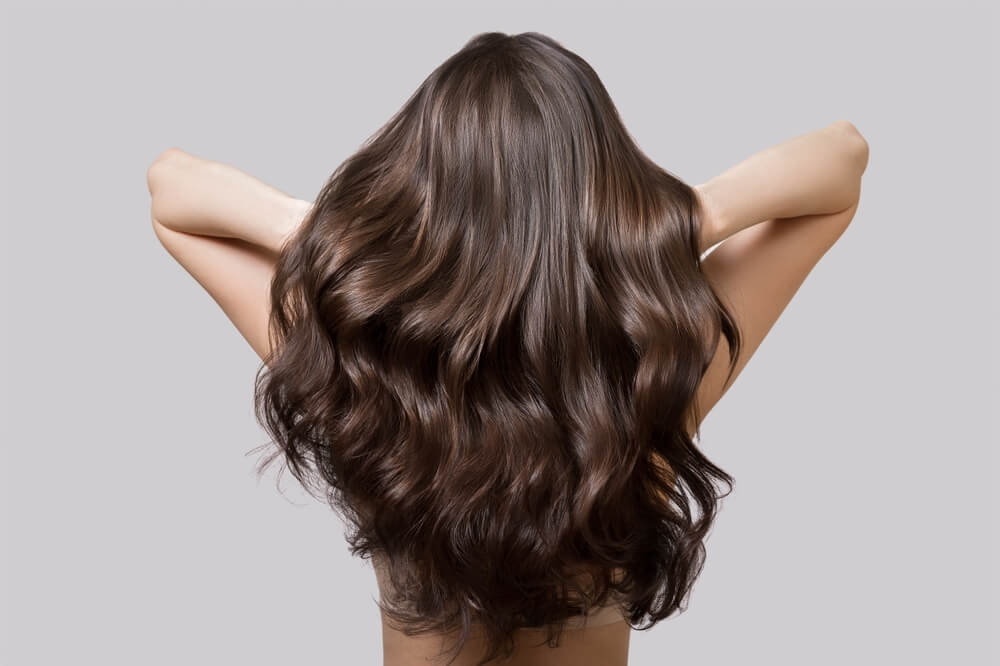
If your hair hasn’t been looking quite as healthy and lustrous as you’d like it to, it could be time to reassess your hair care routine. Making a few changes to your hair care habits can sometimes be all that’s required to transform the look and feel of your locks.
Where do you begin? Keep reading as Evalectric talks you through a complete hair care routine that’s guaranteed to provide stunning results!
Step 1: Cleanse
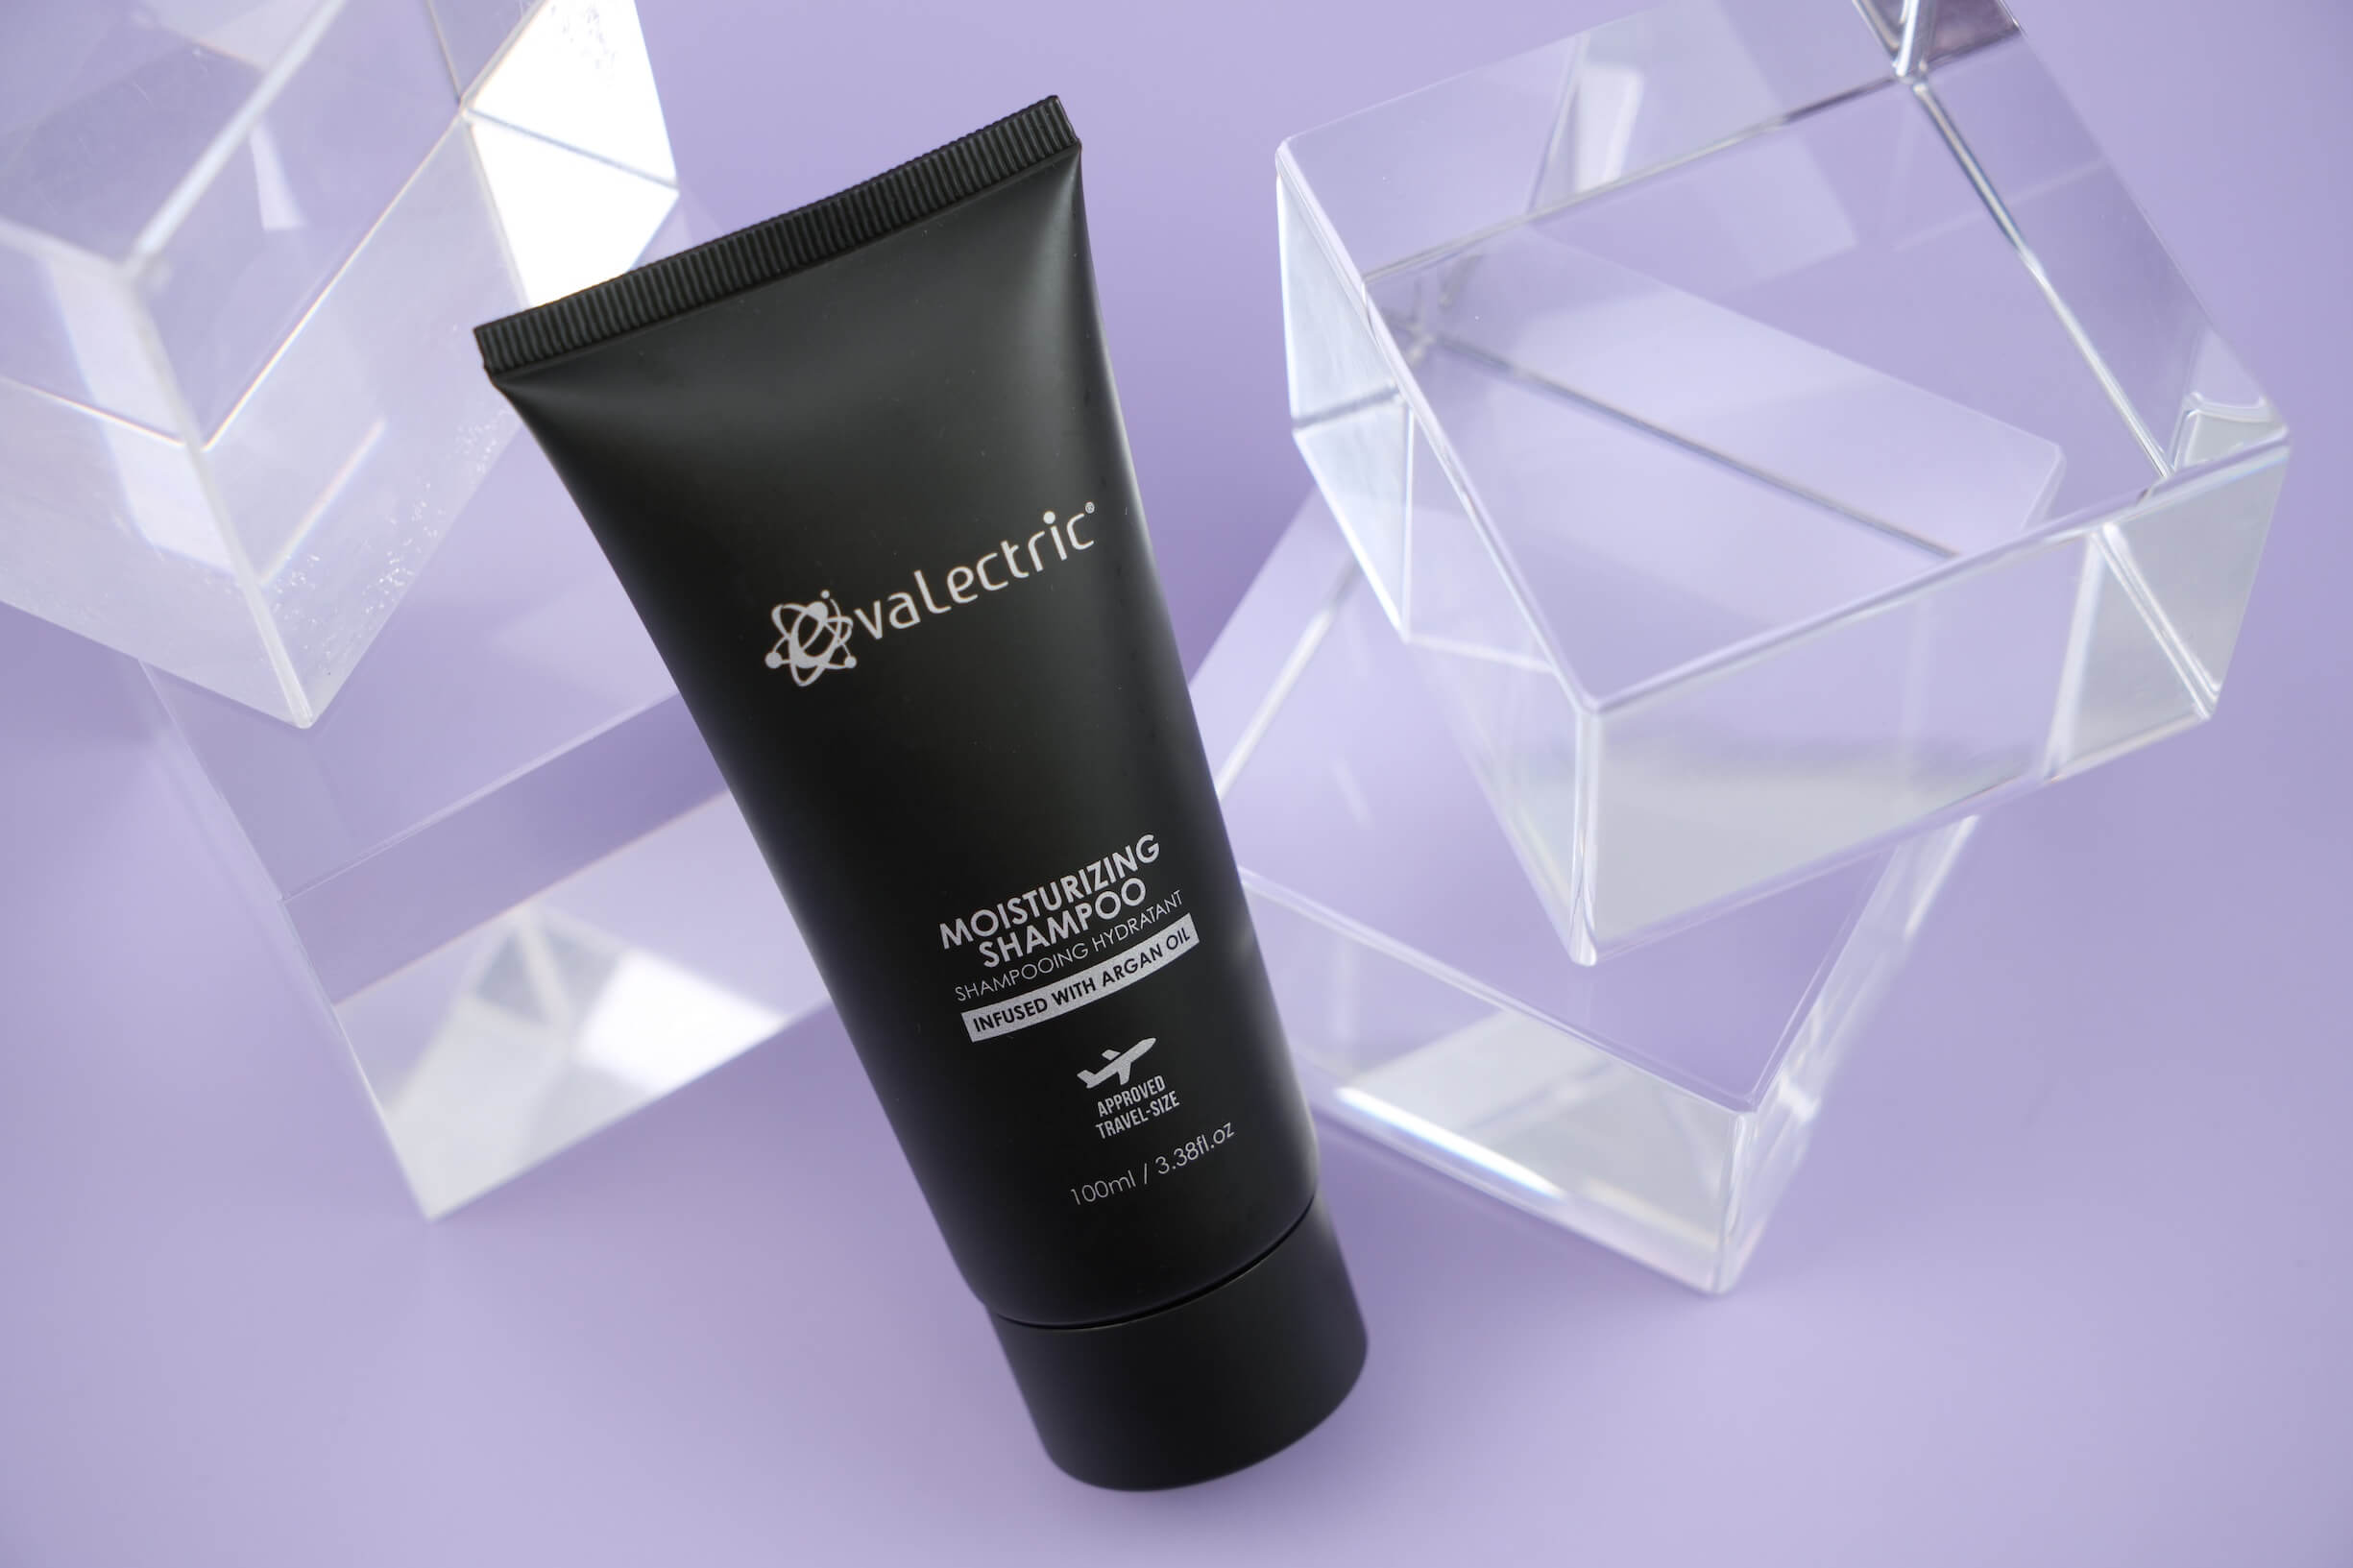
Since you want a fresh start for your mane, cleaning your hair and scalp should be the very first step you take. While many people think that they need to wash their hair daily, this isn’t the case at all. In fact, over-washing your hair will cause it to look dull and dry. So, if you’ve only just washed your hair, save this hair care routine for when your hair actually needs to be shampooed again.
In terms of choosing a shampoo, pick a formula that caters to your hair type. If you have an oily scalp, you’ll need a powerful shampoo that’s capable of lifting away that excess grease. On the other hand, if you have a dry scalp, an overly powerful shampoo isn’t going to do you any favors. Instead, you need a gentler formula that will moisturize your hair while it cleans it, just like the Evalectric Moisturizing Shampoo. Thanks to an infusion of argan oil, which studies confirm to be an exceptionally moisturizing botanical, it will leave even the driest of strands feeling soft and silky.
Step 2: Condition
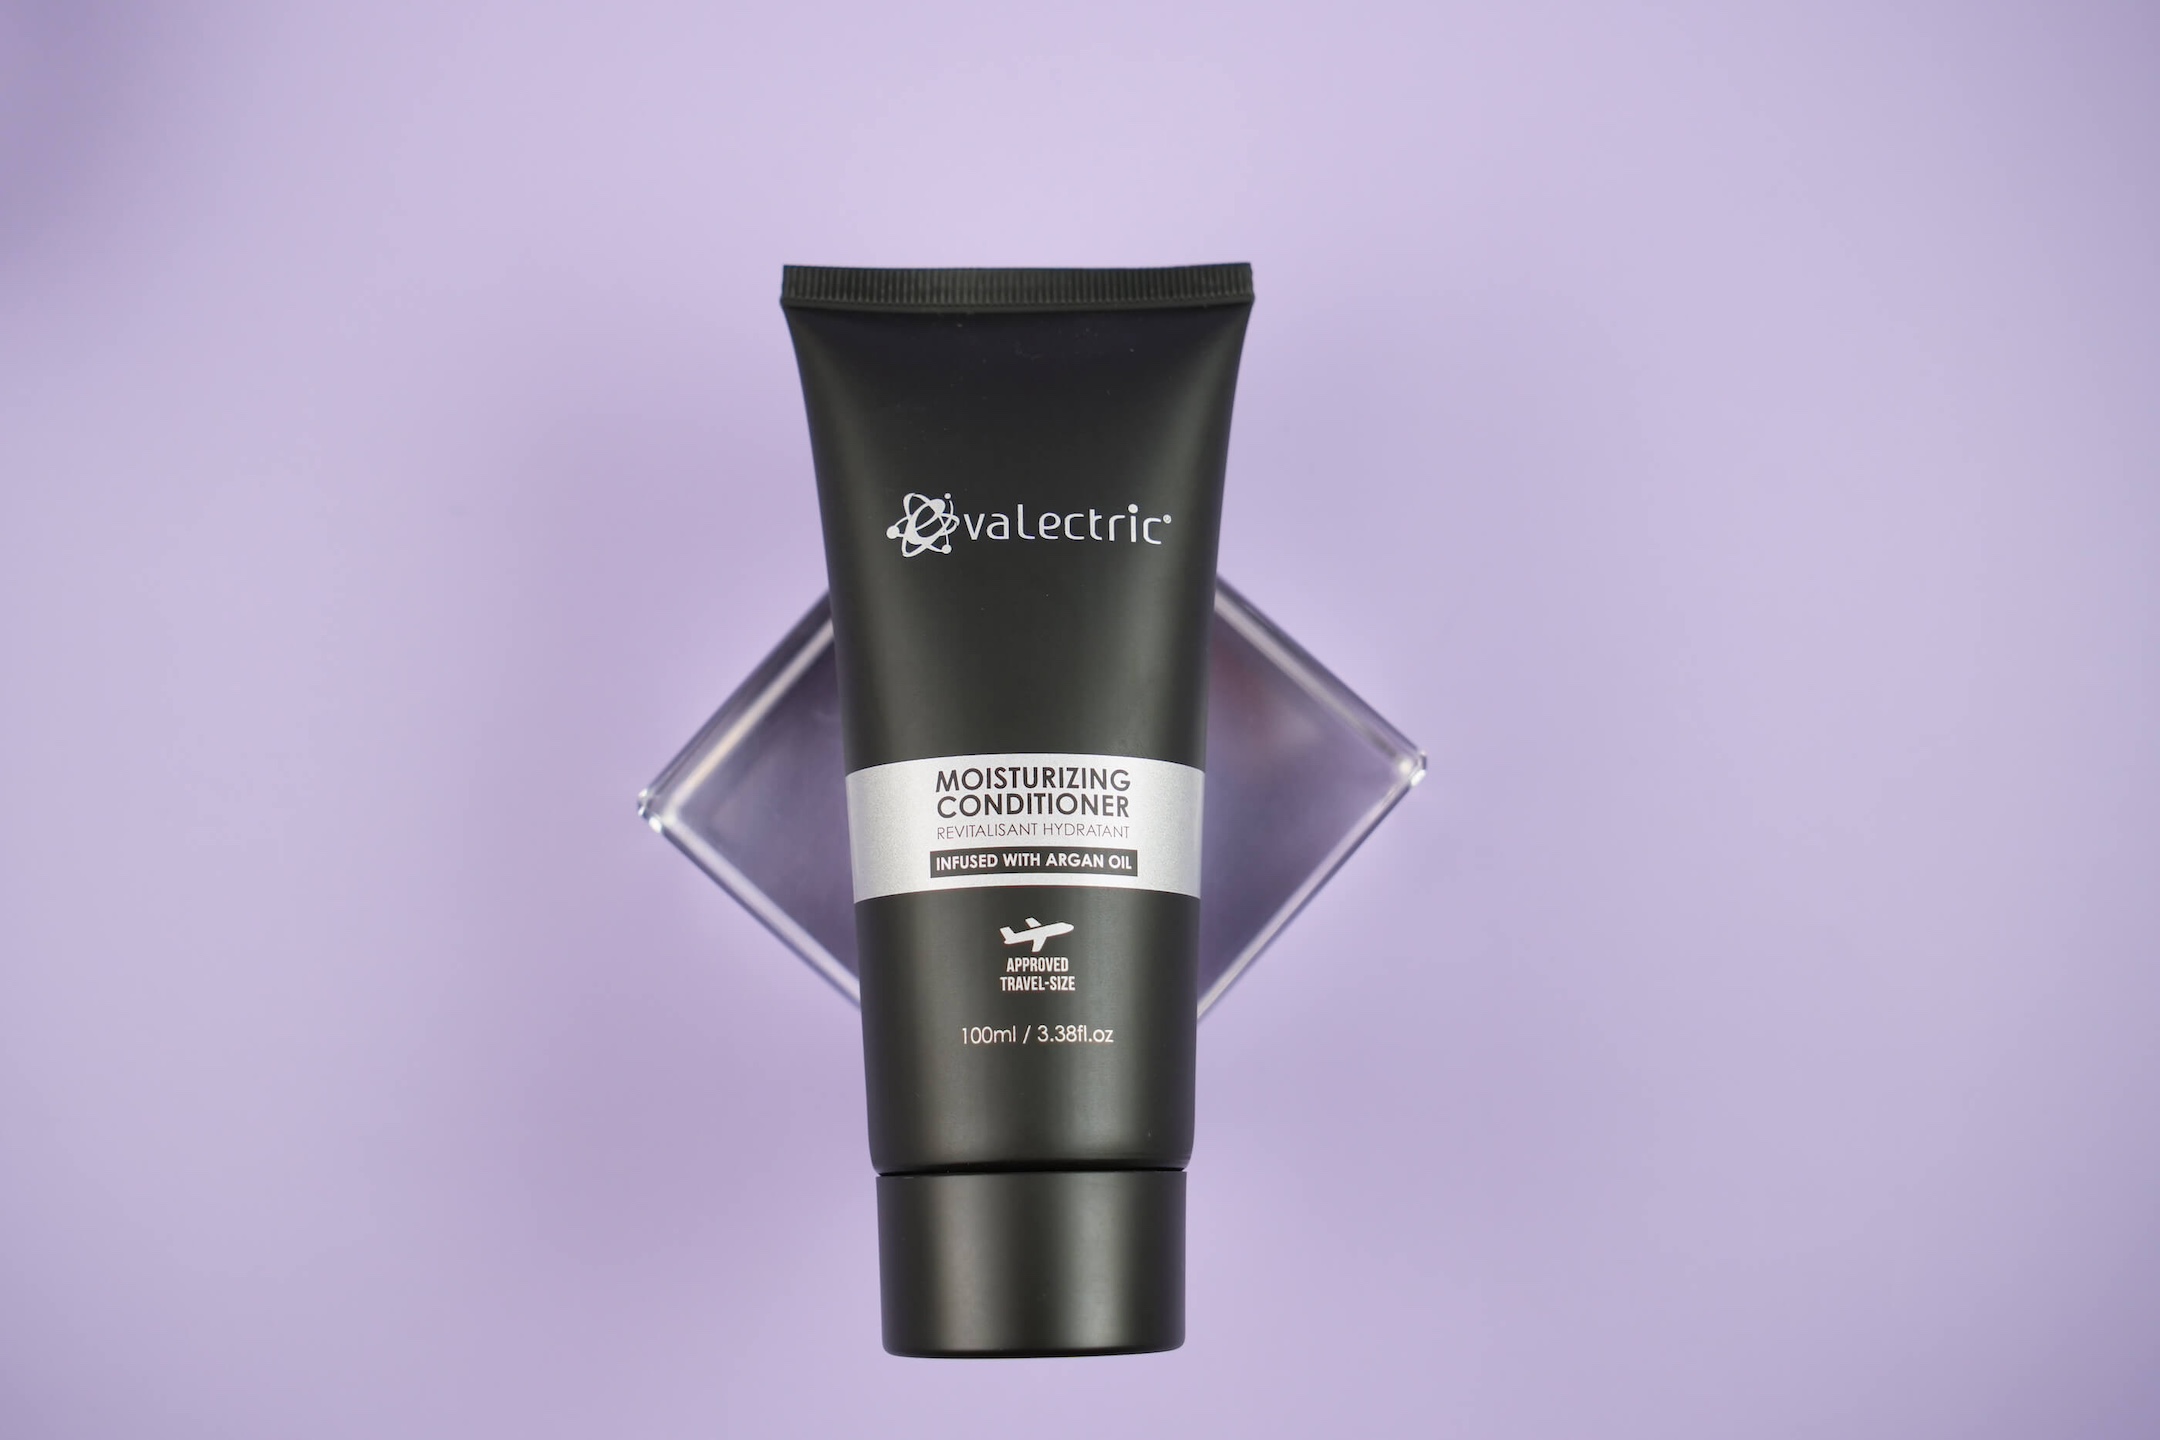
Once you’ve washed your hair, it’s time to move on to the next step in your hair care routine; applying a conditioner. This is essential for a couple of different reasons. Firstly, it provides a boost of moisture and nutrients, which your hair will definitely appreciate after the shampooing process. Secondly, it will leave your hair feeling fortified and better protected against environmental damage.
However, in order for your hair care routine to provide the results that you’re hoping to see, you need to, once again, keep your hair type in mind when choosing a conditioner. You don’t want to weigh oily hair down with a rich conditioner, yet this is exactly what coarse, dry hair would benefit from.
One conditioner that works well for all is the Evalectric Moisturizing Conditioner. Just like our shampoo, argan oil is once again the star ingredient in this formula. If your scalp is prone to oiliness, you may think that an oil-based conditioner is the last thing you need. However, argan oil is different from many of the other oils that are commonly used in hair care products. Argan oil can actually regulate how oily your scalp feels. This means that, with regular use, it can help to provide a new sense of balance.
Step 3: De-Tangle
Before you rinse your conditioner off, spend some time running your fingers through your locks to see if you can feel any tangles. If you do, start by working your fingers through those knots and try to gently unravel them. Your conditioner will provide plenty of lubrication, giving your strands the ‘slip’ that they need for effortless de-tangling.
Once you’ve done as much as you can with your fingers, finish the job with a wide-toothed comb or a de-tangling brush. This will help you to tackle the more stubborn knots. However, make sure that you don’t yank your comb through your hair from top to bottom. Instead, start at the ends of your hair, keeping onto each section of hair with your other hand to avoid placing pressure on your roots. Even though a conditioner makes this task easier, it’s important to remember that wet hair is fragile and not very elastic, making it prone to breakages.
Once your hair is tangle-free, rinse off your conditioner and then move on to the next step of this hair care routine…
Step 4: Towel Dry
It’s now time to deal with your dripping wet hair! Again, keep in mind how fragile your hair is when it’s wet. You need to exercise care and caution when working with wet hair, yet many people do the opposite when it comes to towel drying. They flip their heads upside down and roughly rub at their locks with a terrycloth towel before whipping their hair up into a tight bundle and wrapping their towel around it.
If you want a mane that looks smooth and sleek, you need to ditch those habits ASAP. Instead, start by blotting your hair with a microfiber towel. Wrap your towel around your hair and gently squeeze excess moisture out. Thanks to how absorbent microfiber is, this process doesn’t usually take long. If your lengths are long, however, you may want to wrap your hair in your microfiber towel for 10-15 minutes. Just be careful not to twist your strands too tightly while you’re doing so!
Step 5: Treat and Protect
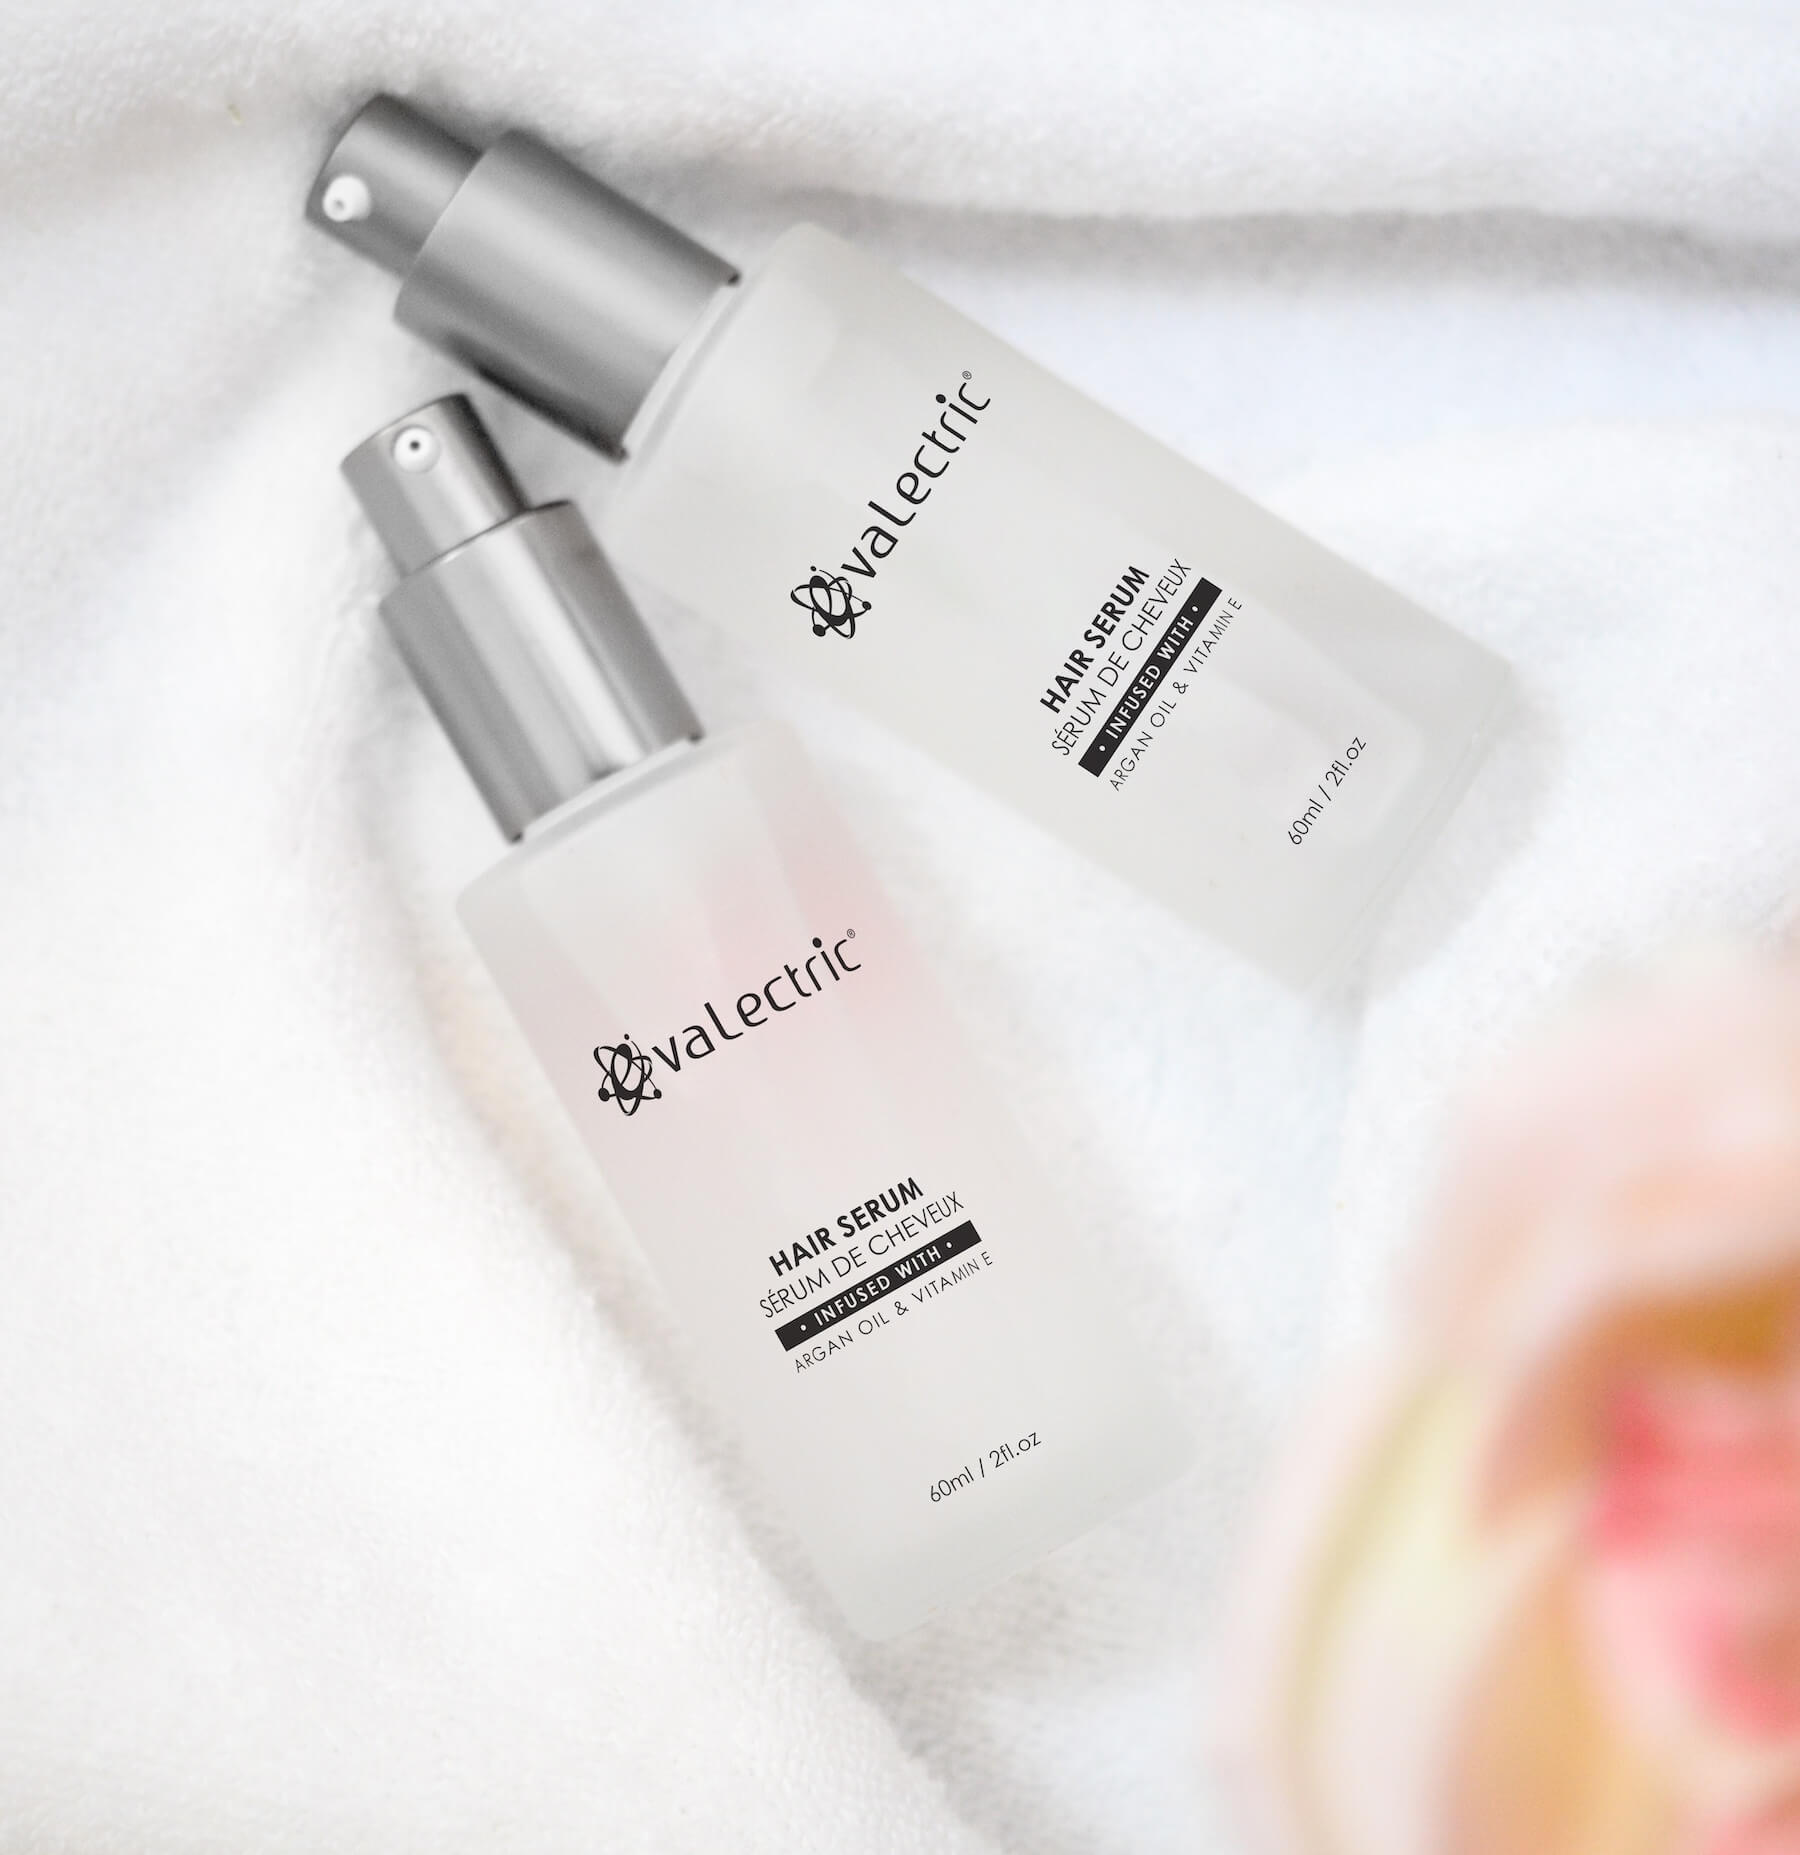
The best time to apply targeted treatments and protective products to your hair is while it’s wet. Why? Because this is when it’s most permeable, meaning that the products you apply at this time will find it much easier to penetrate your strands.
So, which products should you be using in this step?
This depends on the hair issues you’re hoping to target. If, for example, you have lots of split ends and aren’t booked in for a trim for another week, you may want to apply a bonding oil to those frayed ends. Likewise, if you’ve been dealing with an irritated scalp, a scalp treatment wouldn’t go amiss. A hair serum would also be a great choice if your hair is prone to dullness and frizz.
In terms of protection, leave-in conditioners are great for keeping your strands feeling safe. They can make a huge difference to those with dry or damaged hair.
A heat protectant is a must too. Whether you go for a spray, a cream, or anything else, a heat protectant will coat your strands, forming a shield that takes the brute force of the heat from the styling tools that you’ll be using further on in this hair care routine.
Step 6: Air Dry
Now that you’ve applied any necessary hair care products to your locks, it’s time to be patient. You need to give your strands the opportunity to dry naturally before you move in with your blow dryer. Why? Because if you use your blow dryer too soon, your hair will be subjected to that harsh heat for much longer. Wait until your hair is about 80% dry and you won’t require much heat to finish the job.
If you’re in a rush, gently shaking your hair can encourage it to air dry faster. You should also avoid lingering in the bathroom as that humid environment will only slow down the drying process.
Step 7: Blow Dry
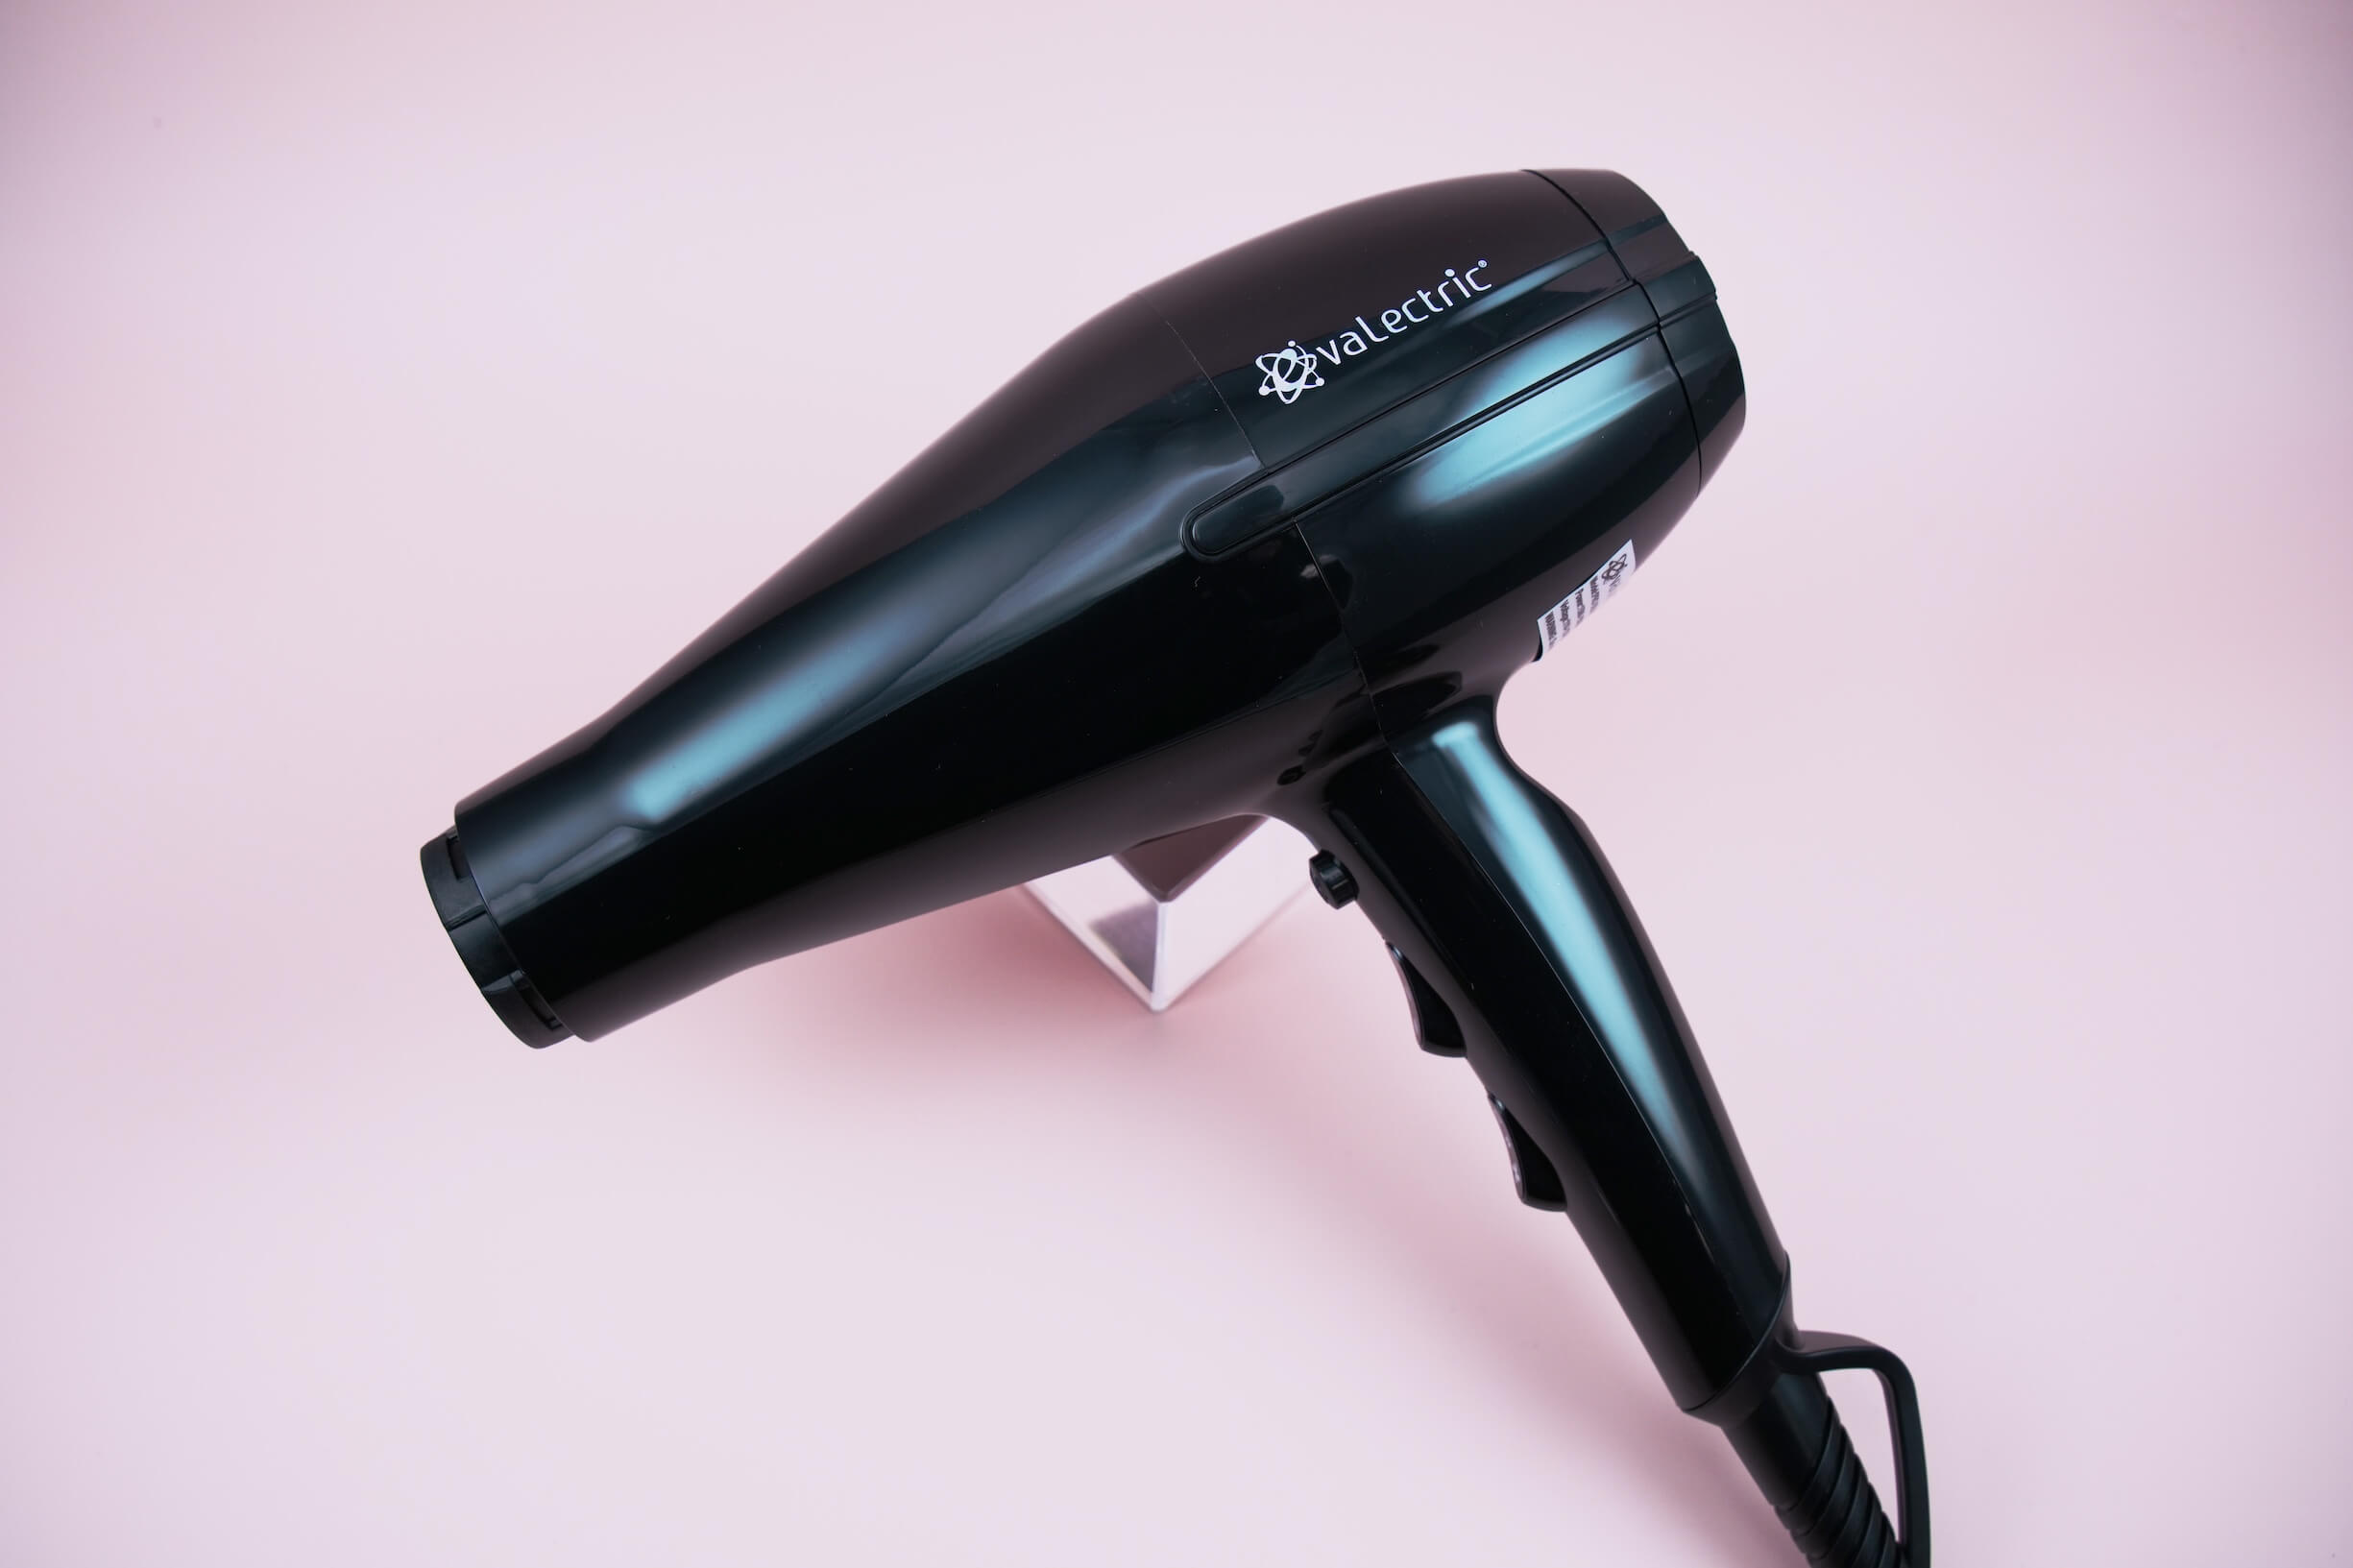
Ready to start blow drying? The first step is to find yourself a high-quality, professional-level blow dryer, just like the Evalectric Pro Beauty Dryer. With its powerful motor, it will speed up the drying process, limiting how long your hair needs to be under the heat. This blow dryer also comes with three temperature settings and two concentrator attachments, enabling you to really customize your blow dry.
For the best results, section off your hair before you start drying it. This will help to ensure that each section receives an even amount of heat. Then, take the first section and, starting at the crown of your head, move your blow dryer from top to bottom in a sweeping motion. Using a brush to add tension will give you a smoother finish, as well as a better shape.
Repeat those steps with each section of your hair, making sure that you’re using the right concentrator for the look you’re aiming for. Once your hair is completely dry, give it a blast with your blow dryer’s cool shot function to smooth down your hair cuticles.
Step 8: Style
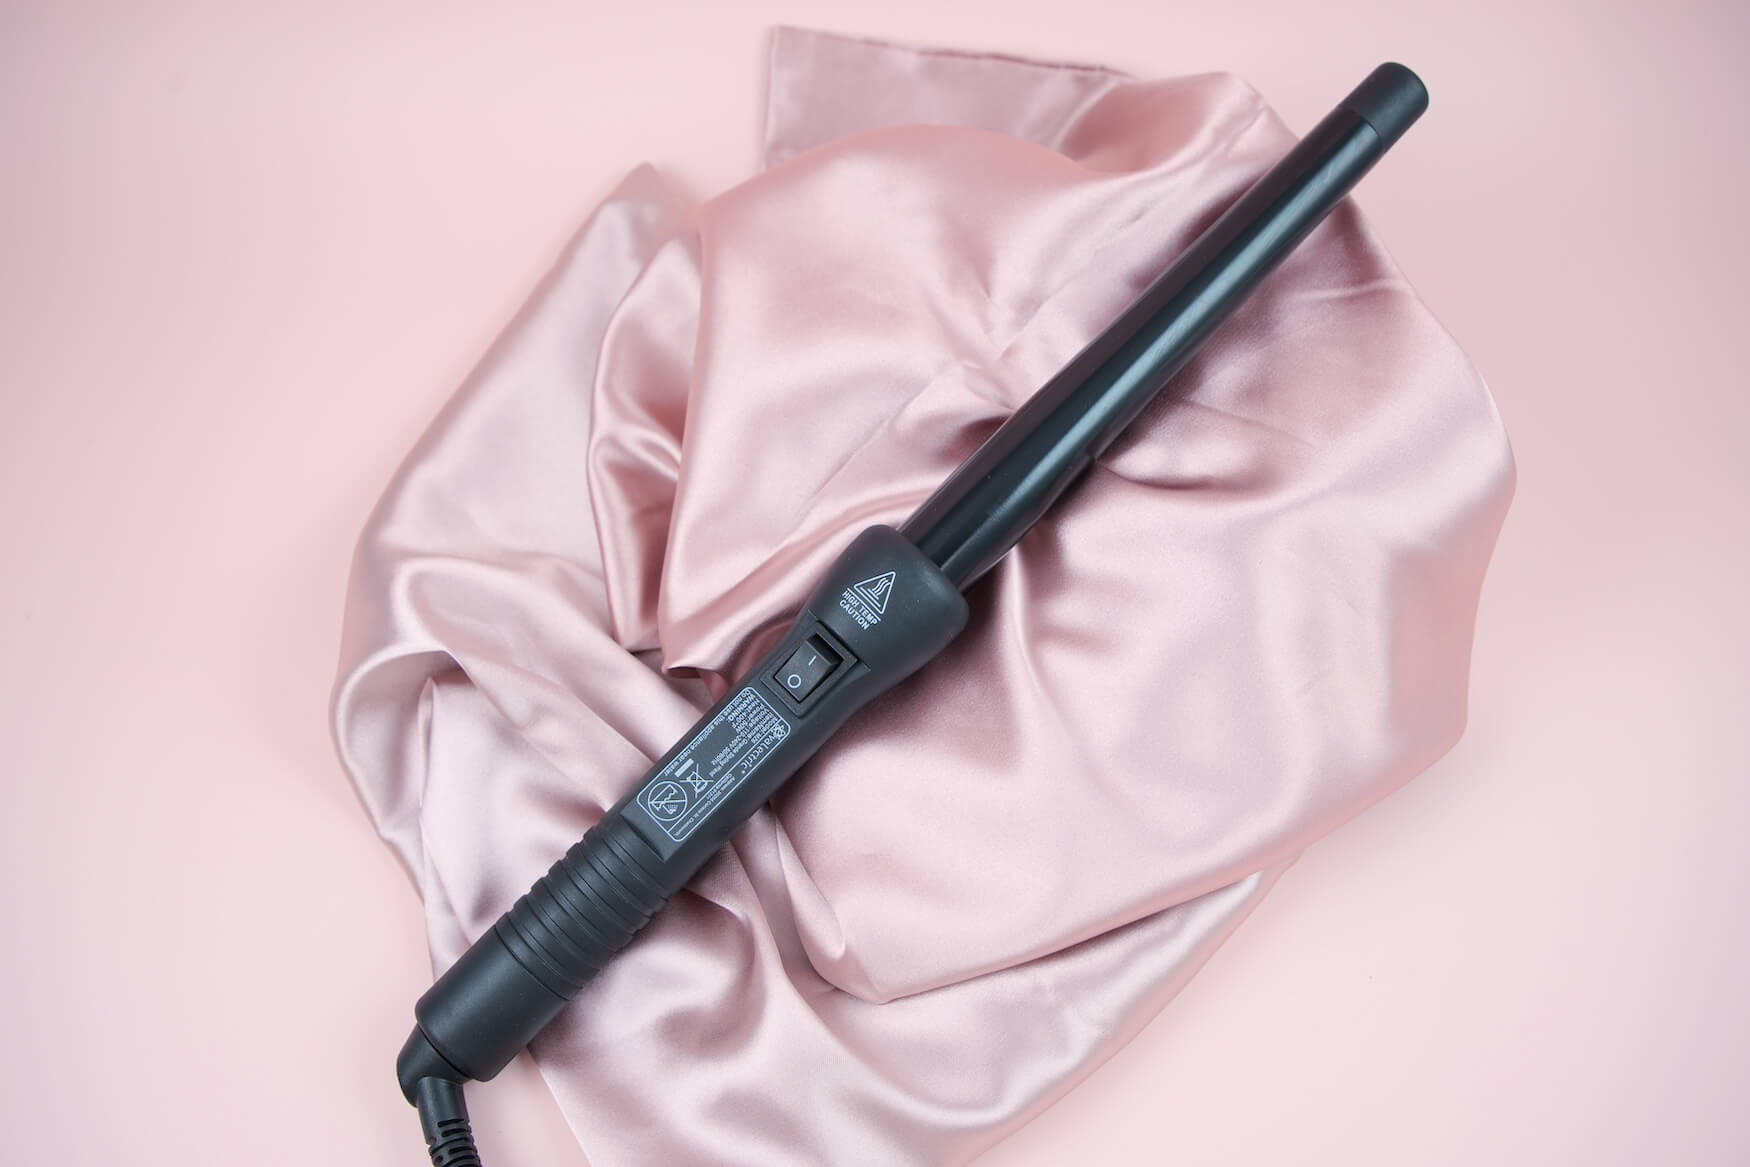
While your blow dryer may have given your hair all of the shape that it needs, you might want to take things a step further with a styling tool. Of course, it’s no secret that heat styling can leave hair feeling damaged but picking the right heated styling tools will help to prevent this.
Let’s start by talking hair straighteners. Ceramic is known for being the gentlest plate material. It heats up evenly, without any hot spots that could end up burning your strands. With that said, other materials can be beneficial too. If your hair is extremely thick and coarse, titanium may be the better choice.
Temperature control is crucial too. Not everyone’s hair will need the same intensity of heat, so being able to dial this down can save your strands from significant damage. Combine this with negative ion technology and infrared heat technology, just like we’ve done with the Evalectric Classic Styler range, and you’ll be able to straighten (or curl!) your hair to perfection without having to worry about it looking damaged.
In terms of curling wands, Teflon is becoming an increasingly popular barrel material due to its exceptionally smooth surface. This means that you won’t run the risk of accidentally snagging your strands, giving you a much more defined look. The Evalectric 25-18 Curling Black comes with a Teflon barrel, hence its reputation for providing a flawless finish! Meanwhile, the Evalectric Grande Styling Wand Crazy Pink makes use of tourmaline. It’s still gentle but it’s also known for how it leaves the hair looking smooth and static-free.
Create the Perfect Hair Care Routine With Evalectric
Your hair care routine will play a big part in how healthy and vibrant your hair looks, which is why it’s so important to get things right. Follow the steps above regularly and consistently and you’ll be off to a great start – it won’t be long before you notice that your hair starts to look shinier and bouncier than ever!
Click here to elevate your hair care routine with more bestsellers from Evalectric.


