9 Pro Tips You Need to Know When Dying Hair


Let’s be honest, dying your own hair is hard. Whether you’re simply going a shade or two lighter or darker or you’re totally switching things up to a whole new hue, there’s a lot to think about. Preparing your space beforehand, successfully applying the dye, plus there’s the aftercare and clean up to think of too!
All in all, it can seem like a bit of a nightmare. But, we at Evalectric are here to tell you that it really doesn’t need to be! With a little know-how and some top tips on how to get it right, you can be your very own stylist from the comfort of your home salon (*ahem…* bathroom).
So, if you’re ready to switch up your hair color and need a few pro tips on how to get started, keep scrolling. We’re about to share all of our knowledge on the subject to get you the beautiful hair color you deserve without so much as a phone call to your stylist!
Always Start With Healthy Hair!

Before you even think about dying your precious tresses, make sure your locks are in excellent condition. Not only will it give your hair a strong foundation to deal with the chemicals within the hair dye, but it’ll also prevent it from looking and feeling damaged afterward.
For us, that means not over-washing it but thoroughly cleansing and conditioning the hair in the lead-up to the dying process and avoiding heat tools and blowdrying where possible. Additionally, we love making the Evalectric Moisturizing Shampoo and Moisturizing Conditioner the basis of our pre-color haircare routine!
If you’re feeling that your hair needs some extra TLC before you’re ready to color it, start with weekly treatments, such as hair masks. Personally, we adore the Evalectric Hair Mask infused with Argan oil and panthenol for this very reason!
Need an extra moisturizing top-up before/after styling and on the go? We hear you! For an easy-to-carry serum that’ll slip easily into your handbag, try the lightweight Evalectric Serum. This silky formula is also infused with argan oil and vitamin E!
Choose the Right Color
We don’t need to tell you that picking out a color you really like is super important. After all, you’ll be rocking this new shade for at least a few weeks, so loving how it looks on you is essential!
But, how do you pick one when there are so many shades to peruse?
We can help you decide!
Firstly, it’s important to know that simply seeing a color you like and then putting it in your hair usually isn’t the best idea. First, you’ll need to make sure it’s an achievable shade to put over your current color. If your hair is black, for example, and you’re thinking of dying it blonde, simply coloring over it with a box dye is unlikely to result in the look you desire.
In this case, there’ll likely need to be a lifting process first using a lightener. Or, in some cases, bleach will get you there. Secondly, you’ll need to ensure the shade you choose suits you, fits in with your wardrobe, and your lifestyle.
Still not sure where to start?
Don’t fret!
If you’re opting for the same color you have now, just a lighter or darker version, a good rule of thumb is to go just two shades lighter, or two shades darker than your current hue. This way, you can be sure your color change is noticeable but still looks natural and coordinates with your brow color.
All that said, if you really want to mix things up and are looking to make a huge change with a pastel dye or even something more vibrant like fuchsia pink or azure blue, don’t be afraid to go for it just because it’s a little out there! All we suggest is you reach for a semi-permanent dye or a wash-in wash-out formula first. That way you can make sure you really love it before fully committing to a more permanent color situation!
Ready to go for a bold new look?
Keep on scrolling. We have all the need-to-know tips for tie-dying your hair at home!
Pro Tips For Tie-Dying Your Hair
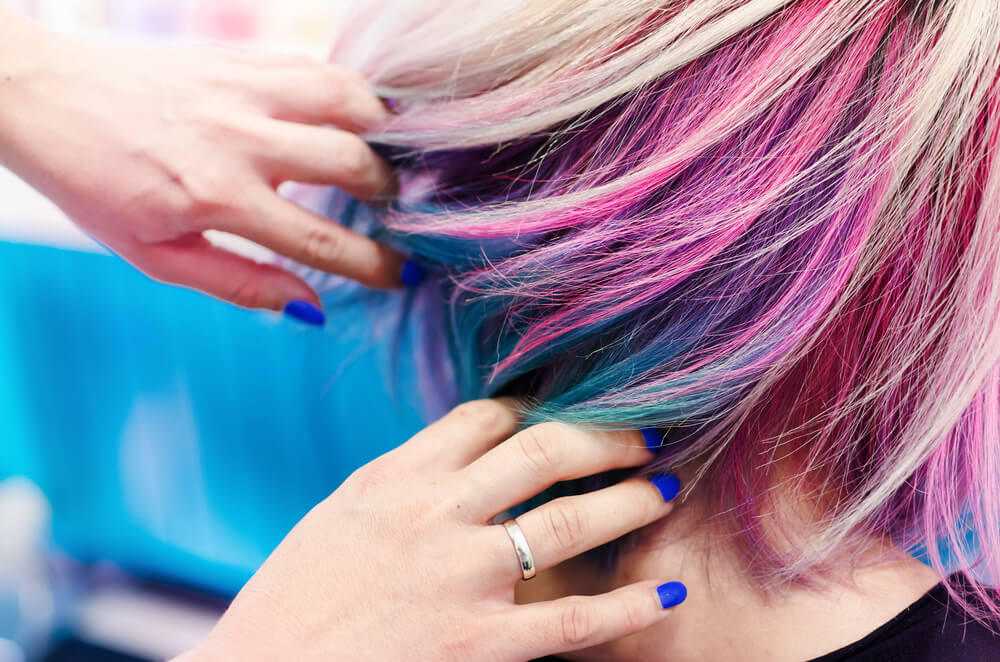
Whether you’ve been eyeing this dreamy technique for a while or this is your first introduction to it, we’re guessing you’re already picking out color combinations in your head! We so don’t blame you and think this particular hair color trend is absolutely perfect for summer! And yes, it’s pretty much exactly what it sounds like. A tie-dye effect you would usually see on some fabulous 70s tee, scarf, skirt, or dress, only it’s in your hair!
Sounds too good to be true?
We promise it isn’t!
So what do you need to know to achieve the look? Follow along with our top tips for tie-dye hair below and be sure not to miss our complete guide too!
- Decide on your colors – Make a color chart to see which hues go together and which will suit you. If you’re feeling super bold, opt for three or even four colors. Or, if you’re just starting out, we recommend giving the technique a go with one or two to get used to the application process and the finished look!
- Pick the right dye for your hair type – consider which hues will show up in your hair (and consider whether you need to lighten your locks before getting started). We recommend bright and bold complementing shades for this technique! Think pink and purple, blue and green, or maybe orange and yellow
- Comb out your hair – just as you’d expect with fabric, tangled tresses make for messy results when it comes to tie-dying. So, comb your hair out first to make sure it’s nice and smooth
- Tie your hair – To determine the sections you DON’T want to color, use no-snag bands to mark them out. Next, use pieces of old cloth (that you don’t mind getting color on) to tie around them. This will prevent the dye from penetrating the hair underneath so make them as thin or as wide as you like
- Apply the dyes! – Where you apply the dye to your hair is totally down to you but we highly recommend alternating between however many colors you have. Paint them carefully onto the hair in steps working your way from top to bottom
- Develop and rinse – Once the dyes have developed for the time allocated on the box, very carefully remove the cloth and hair bands and gently rinse your hair through. Use lukewarm water to prevent the dye from completely fading on the first rinse!
- Enjoy! – Finally, you can style your new hair and marvel at the unique patterns and colors running through it! Curls will give it a super-fun edge whilst straight hair will make the most of showing off your dying skills!
Now that we know how to tie-dye our locks, let’s take a closer look at dying hair in general and how you can achieve the techniques (including this one) like a pro!
Choose the Right Formula
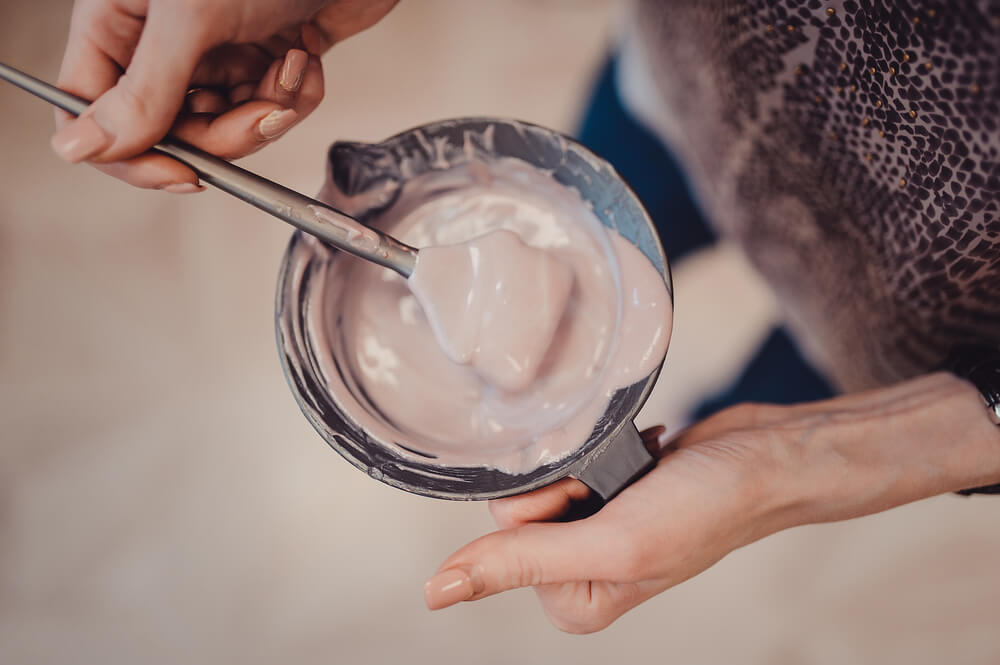
Once you’ve decided on a color(s) and how long you want it to last, it’s time to take a look at the formulas available. Those opting for blonde hues may be happy to go for dyes containing bleach. However, others may want to avoid it and choose a dye that contains a lightener instead.
While the dye may not be quite as strong or last quite as long, it does mean you can avoid the damaging effects repeated usage of bleach can have on your hair and scalp.
Likewise, many prefer to avoid dyes with ammonia in them. Ammonia is a chemical used to heighten the pH level of your hair. This, in turn, lifts the cuticle, allowing the dye to be more easily absorbed. A little like bleach, repeated use of dyes containing ammonia is more likely to damage the hair.
However, there are plenty of dyes on the market that don’t use it. Look out for ammonia-free dyes and they will color your hair using a combination of emollient oils. These prevent your hair from losing moisture and are much safer and kinder to the structure of your locks overall.
Hint: whichever formula you use, it’s very important that you always read the back of the box and check for any ingredients you may be allergic to. Speaking of which…
ALWAYS Do a Patch Test
Of all the tips and tricks we can offer you when it comes to dying your hair, this one, hands down, is the most important.
It should never, under any circumstances, be skipped or overlooked, no matter how desperately you want to try out your new color! And yes, even if you’ve used the dye before, you still need to do your patch test.
Why? Cosmetic formulas, including hair dye, are often changed or tweaked over time to make them more effective. Unfortunately, that does sometimes mean that even products you’ve used for years may no longer be right for you. If this is the case, you’ll need to switch them out for something else.
Always do your patch test at least 48 hours (or longer if the box states) before dying your hair. This way, you can be certain you’re not allergic in any way.
Check the Strength of Your Dye
Before coloring your hair, think about how long you want the color to last. If it’s a color you’ve had before or one you’re pretty certain you’ll want to keep for the foreseeable future, sure, go all-in with a permanent dye.
However, if you; ‘re trying this color for the first time, we always recommend starting with a semi-permanent version of the color. Check you really like it before you’re married to it for months on end! Also, it gives you the flexibility to only have it for a certain time.
For example, do you have an important event such as a wedding to attend this year? Maybe you’re getting married yourself and you want to go au natural when it comes to your hair color. Either way, a semi-permanent color will make it a lot easier for you to do so. If you do it far enough in advance, the color may have already washed out entirely. If not, washing it out with a color remover will be a lot easier.
You should also remember that even though most hair dyes state they’ll only last a certain number of washes on the box, that is guidance only. For some, it will be less, for others, much more. In our experience, it’s usually the latter. Even if the color’s pretty much gone, you can still see traces of it. Therefore, if you have an event coming up that you definitely don’t want colored hair for, maybe steer clear until afterward to be sure your tresses are dye-free!
Kit Yourself Out With Coloring Tools & Protective Clothing
Now, if you want to dye like a pro, you’re going to have to set yourself up like one! Ever seen a stylist applying dye right from the bottle? Ever seen them do it without gloves or protective clothing? We didn’t think so!
Wondering if it’s really worth doing all of this to color your own hair?
Absolutely! And we can explain why.
Firstly, dying your hair without gloves will lead to one sure-fire thing. You’re going to end up with stained hands. Or, if not, at least some very stained fingernails – yikes!
What’s more, the dye you’re applying to your hair won’t do the skin on your hands (wrists, legs, neck, and anywhere else you accidentally end up flicking it!) any favors, especially if it contains bleach or ammonia. After all, the skin on our hands, whilst pretty strong, is still fairly sensitive to harsh chemicals like these. So, even if your hands look okay afterward, you’ve probably done a fair amount of unseen damage.
To be safe, always use gloves! Most box dyes include them. However, if they don’t, you can always pick up a pair from the drug store or online for a reasonable price.
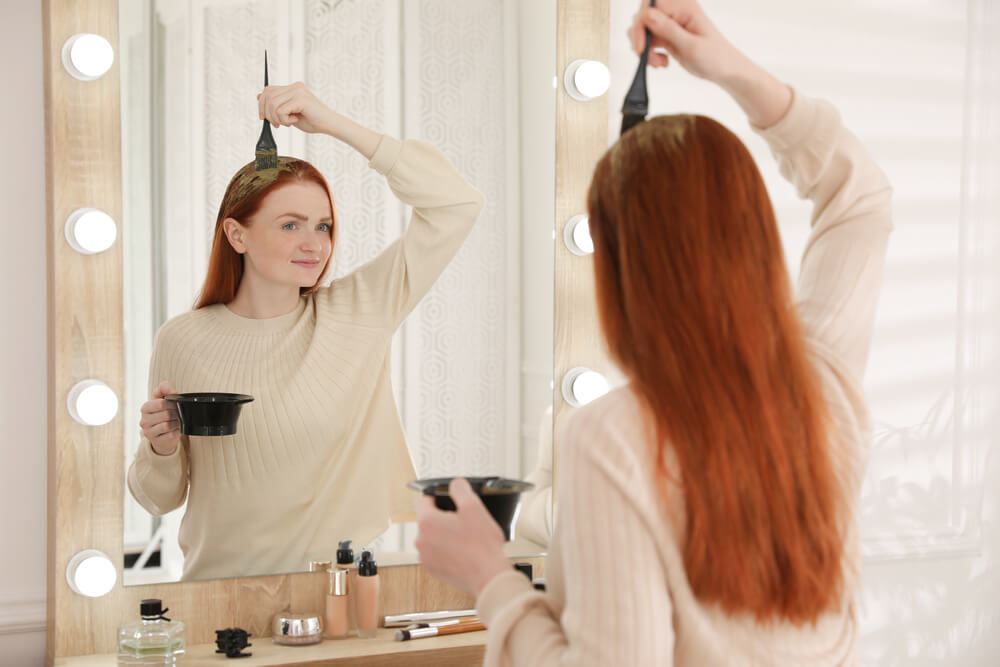
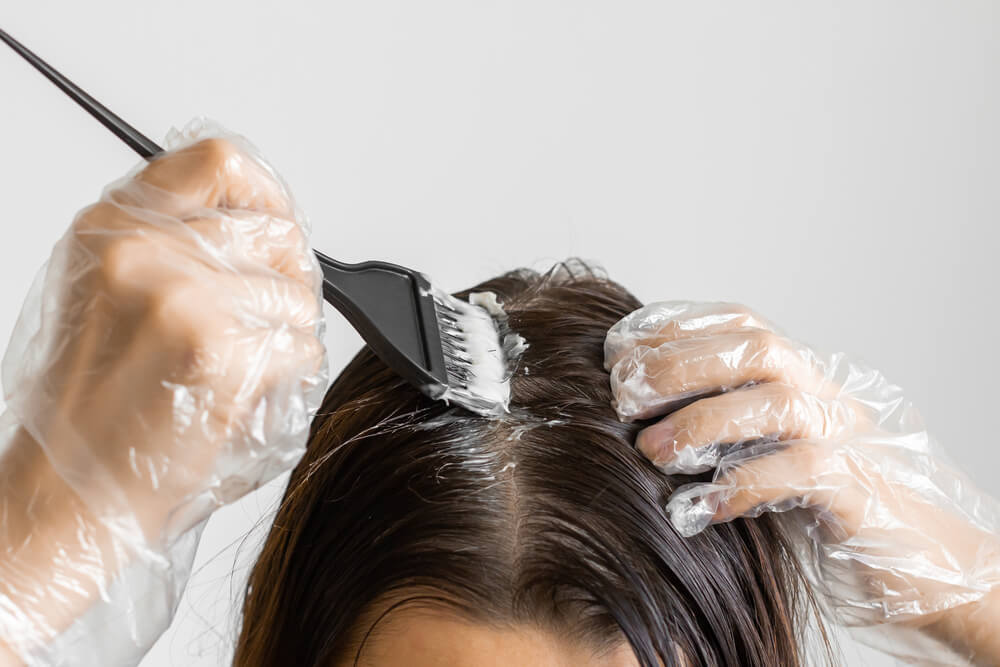
When it comes to the dye application itself, it’s really about personal preference. You may want to apply the dye directly from the bottle. However, if you have the option to use a bowl and a brush, we will always recommend you do. Why?
- You can be a lot more accurate with where you’re putting the dye
- You’re much less likely to drip it onto the floor and your clothes
- You can treat your roots first if they need a touch-up or longer development time
- You can guarantee the dye formulas are properly mixed. This sometimes doesn’t happen when shaking them together in a bottle

Apply Your Dye Immediately
Whether you opt to dye from the bottle or with a bowl and a brush applicator, make sure you apply the dye the moment it’s mixed and exposed to the air. Once this happens it will begin to develop, so it must be on your hair when it does so. If not, you’ll lose out on development time and your color may not be as powerful or last as long afterward.
Protect Your Home Salon (Bathroom!)
Finally, we highly recommend wearing old clothing that you don’t mind getting stained and laying down an old towel to protect your floors and surfaces. Whilst this isn’t so much of a health hazard, we definitely learned the hard way that even when you think you’ve been super-precise and have protected your outfit and surroundings, you’ll always end up with at least one accidental stain!
Ready to color your hair for a whole new look this summer? Remember our top tips and everyone with think you’ve had a pricey trip to the salon!
To treat your locks to some more hair care and styling essentials, check out Evalectric’s bestsellers here.