12 Best Tips for Hair Curling With a Wand
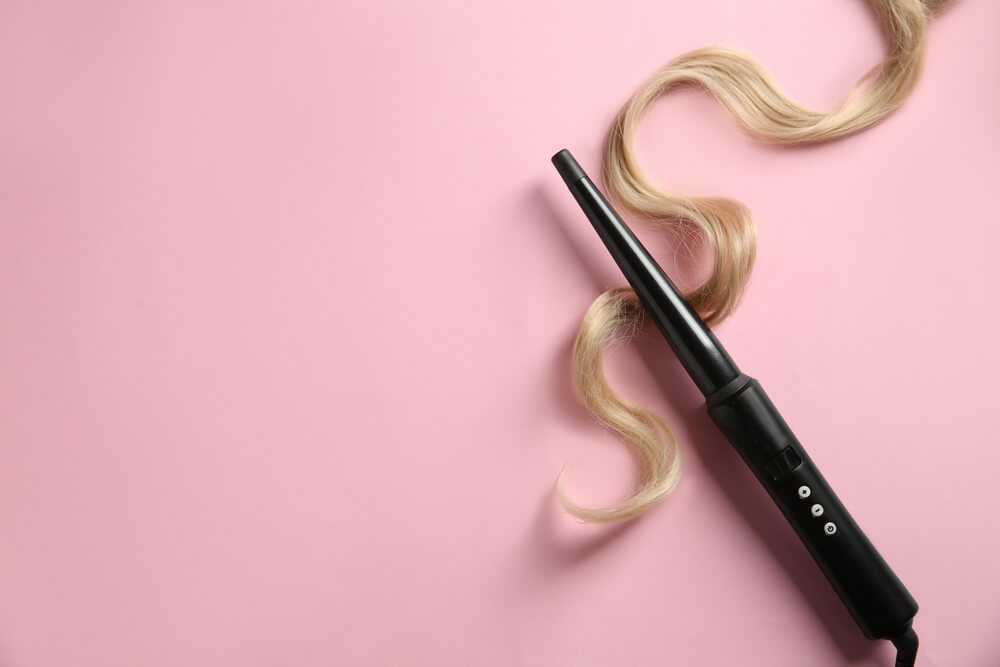
If you’ve been struggling to achieve salon-worthy curls with your curling wand, you’re not alone. Curling with a wand requires a little know-how, which is why this is a hair tool that can often intimidate newbies.
However, take into consideration the beautifully natural, S-shaped waves that can be created with a curling wand and you’ll soon see that taking the time to learn how to use this tool properly is totally worth it.
Ready to elevate your curling technique? Read on to discover Evalectric’s 12 best tips for curling with a wand.
1. Always Use a Heat Protectant
Before curling with a wand, or using any other heated styling tool, it’s always important to apply a heat protectant product first.
No matter how good your curling wand may be, its heat will still cause damage to your strands. A heat protectant coats the surface of your hair, forming a barrier between your hair and the heat. As a result, instead of unintentionally burning your hair while curling with a wand, you’ll be burning off that layer of heat protectant instead.
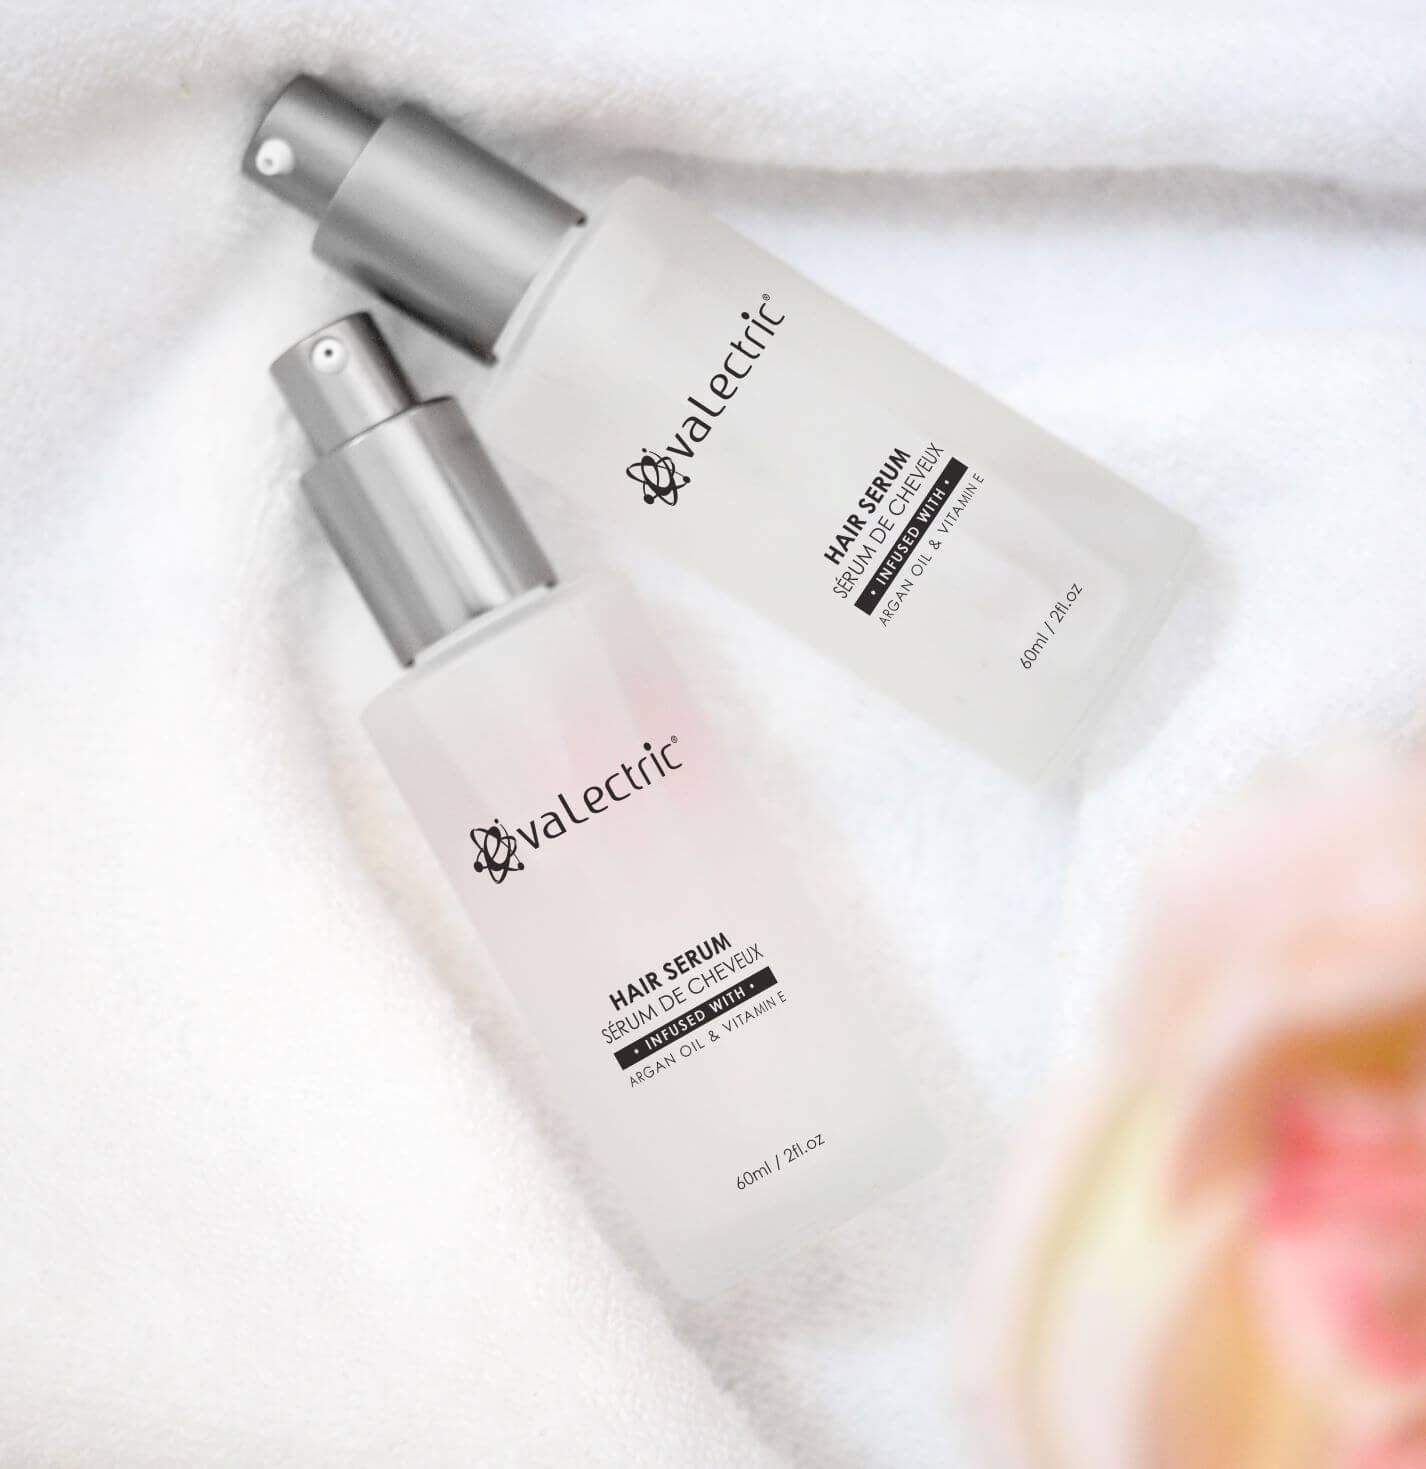
Heat protectants come in many different forms, but one product that many turn to before heat styling is the Evalectric Hair Serum. Not only will it leave your hair feeling protected when faced with heat, but it’ll also give your locks a glossy, healthy-looking finish.
Apply your heat protectant while your hair is still damp, before moving on to our next tip…
2. Make Sure That Your Hair is Dry Before Curling With a Wand
Curling wands are designed to be used on dry hair. Even if you only have a few strands of hair that are still damp, you’re going to be dealing some serious damage. Wet hair is weak and can’t tolerate that heat, resulting in a burnt hair cuticle.
So, before curling with a wand, make sure that your hair is 100% dry.
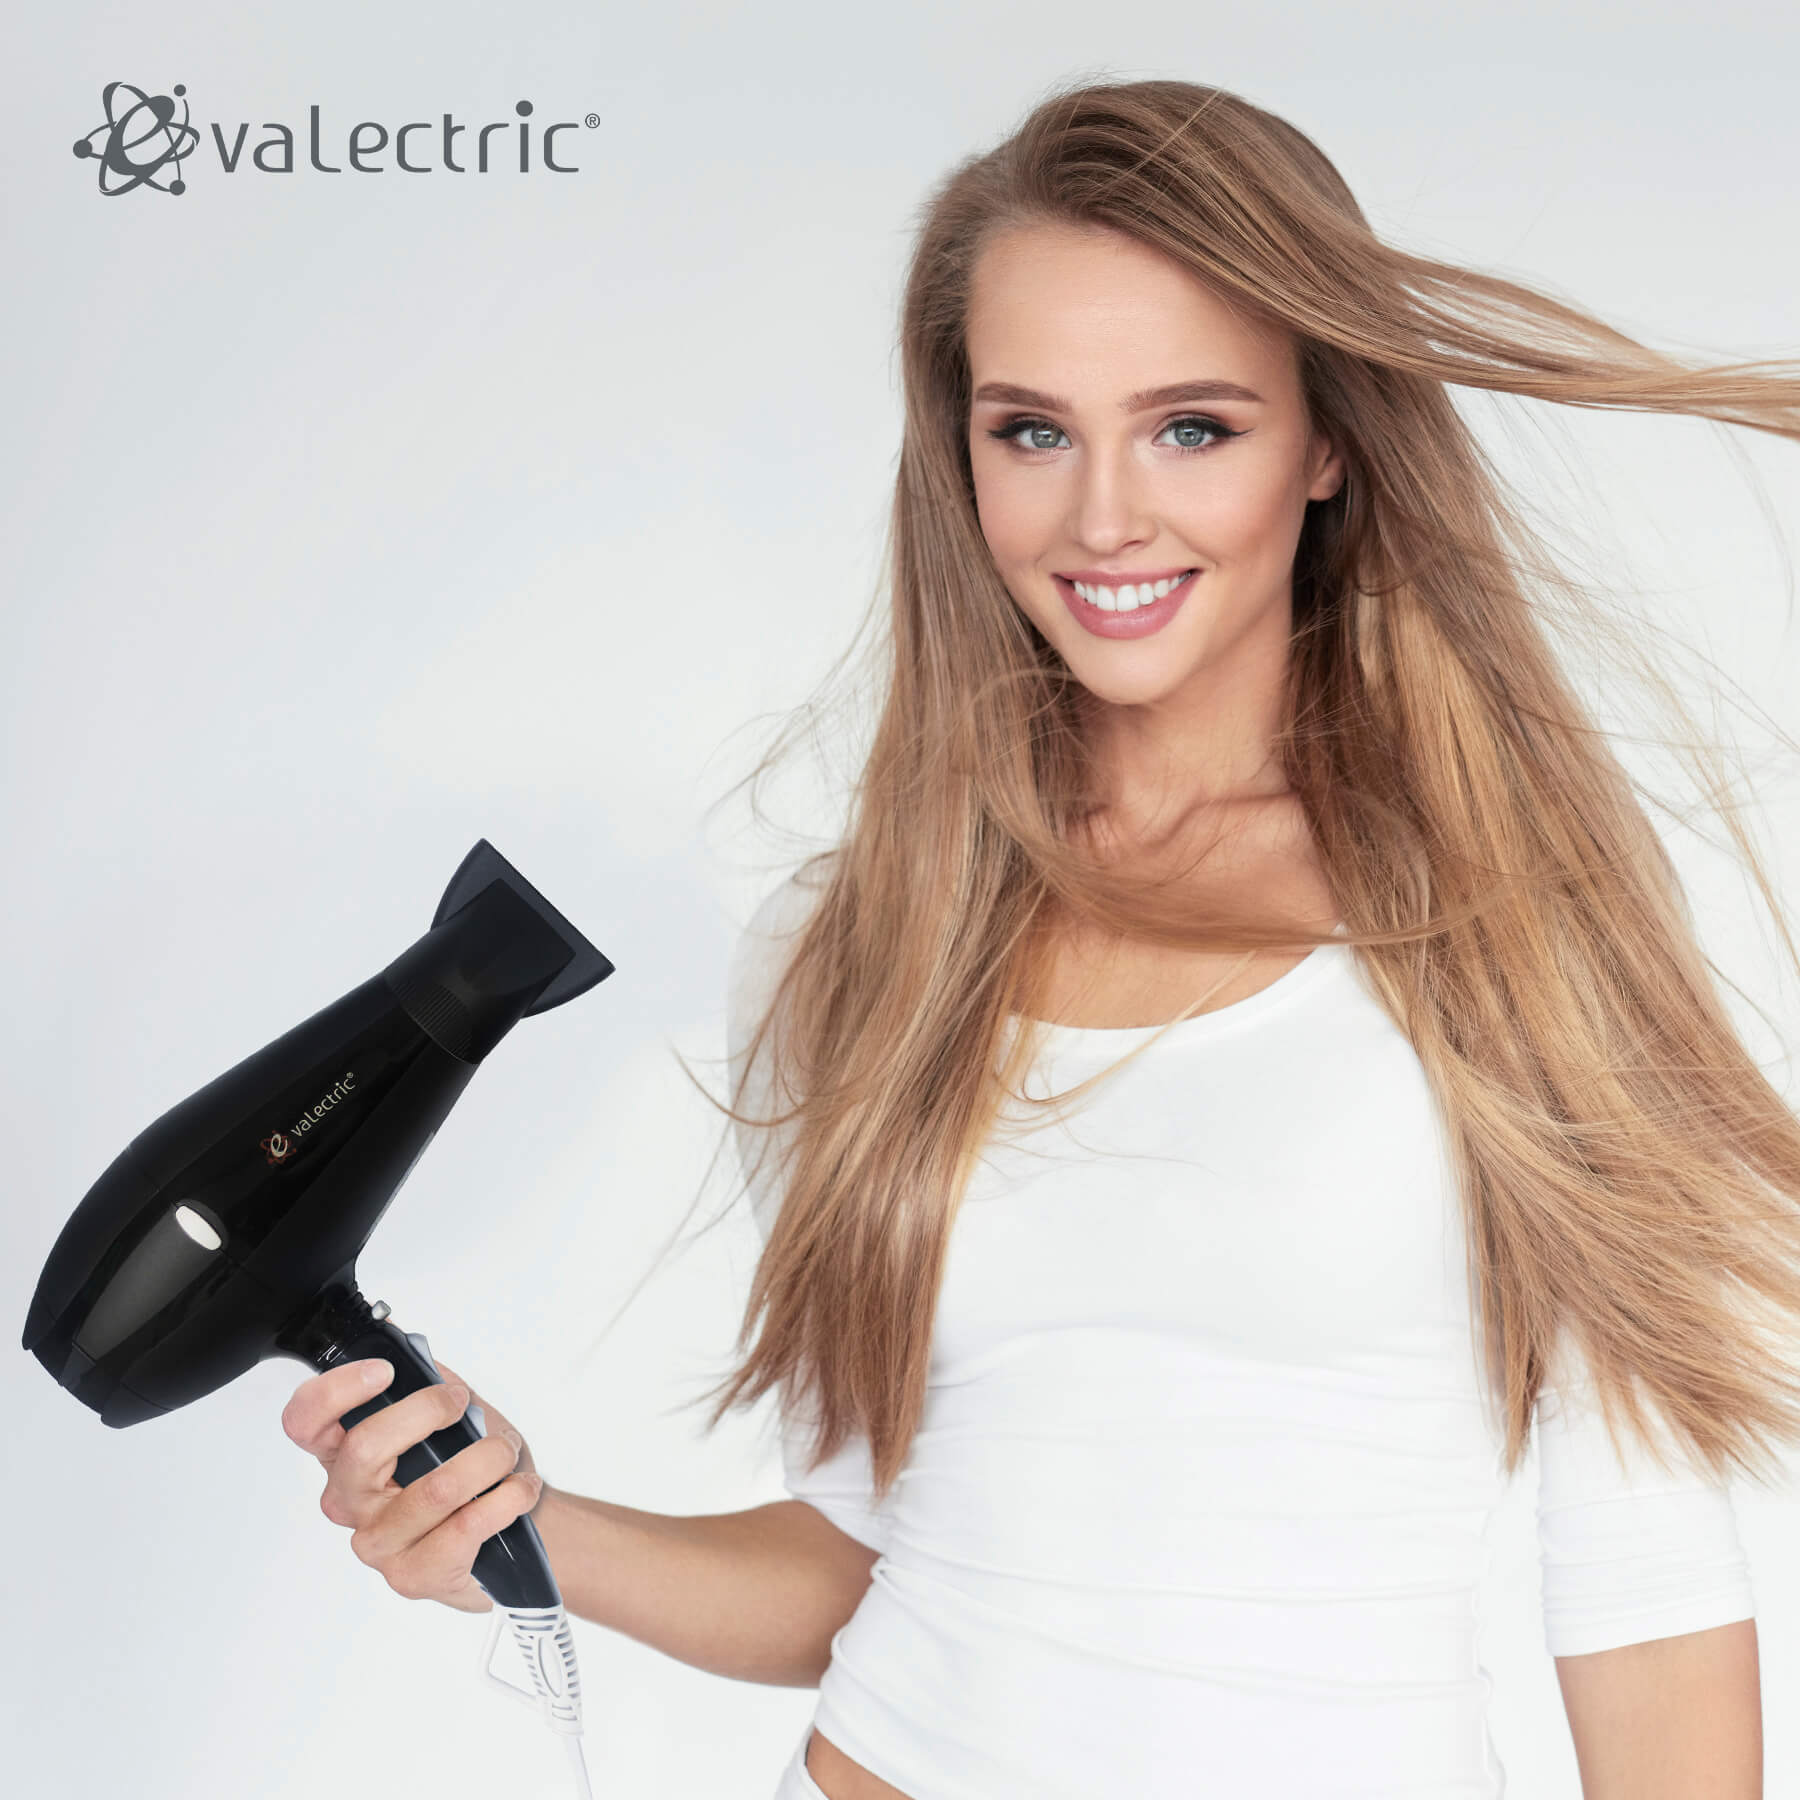
If you don’t have time to air dry your hair, get yourself a good hair dryer. Our recommendation would be the Pro Beauty Dryer from Evalectric. It has been fitted with an extremely powerful motor and three different heat settings. This makes for easy drying and styling in a short amount of time. The two concentrator attachments help to give you more finesse, perfectly prepping your hair for your curling wand.
3. Choose the Right Barrel Size for Your Hair Type
One of the great things about curling wands is that they can easily be used on any hair length. The key is to pick a barrel size that suits your length of hair. For the best-looking curls, you should be able to wrap your hair in a full rotation around the barrel.
If you have long hair, look for a larger barrel size, such as one that has a 25/32mm diameter. One good choice would be Evalectric’s Venti Curler. With an extra large tapered barrel, this tool makes curling with a wand easy if your locks are long or thick.
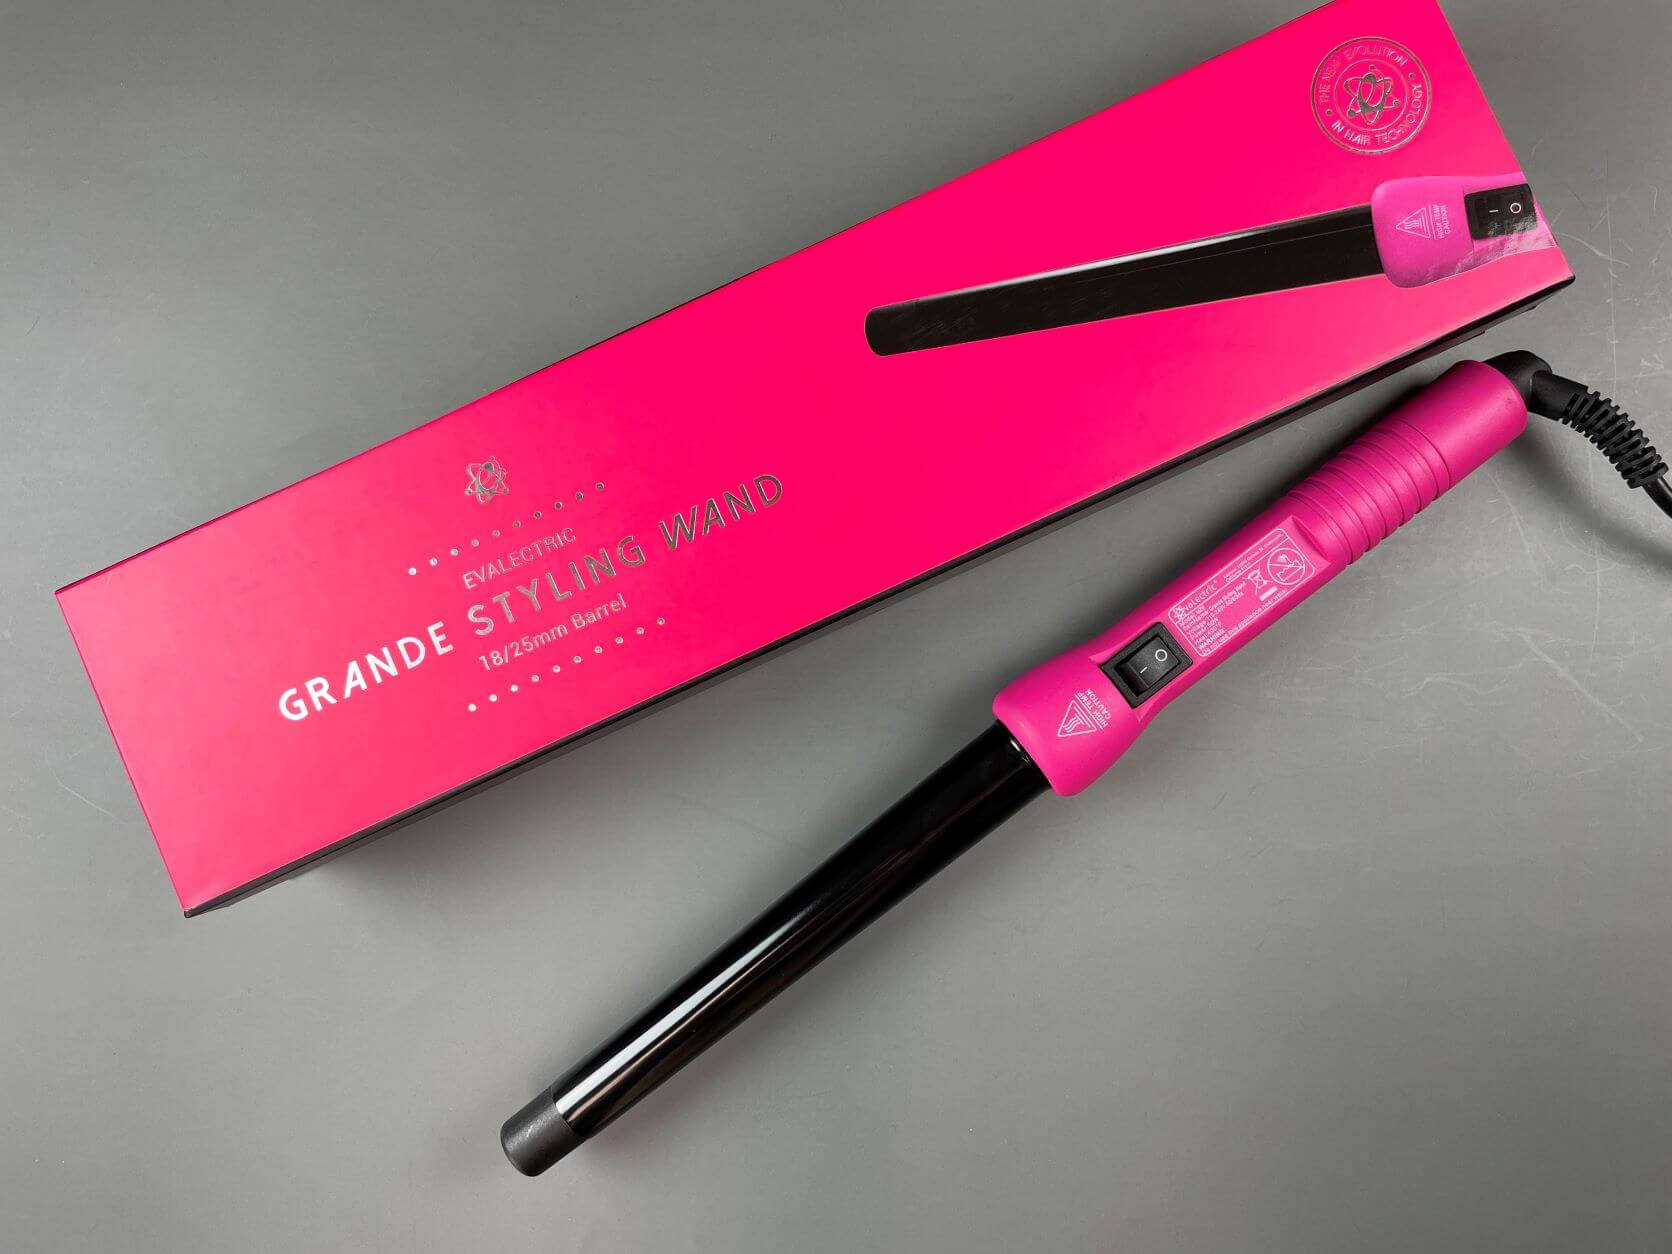
If your hair is medium length, then something like the Evalectric Grande Styling Wand with its 18/25mm barrel would work well for you. This curling wand is also perfect for minimizing the look of damage thanks to the far infrared technology, along with the negative ion technology, that it comes with.
Of course, if you have short hair, then you’ll need a barrel that’s even smaller. Mini curling wands may be a good option for you. This also applies to anyone that plans on using a wand to curl bangs. You definitely don’t want a big and chunky barrel held up against your forehead!
4. Choose the Right Barrel for Your Desired Curl Type
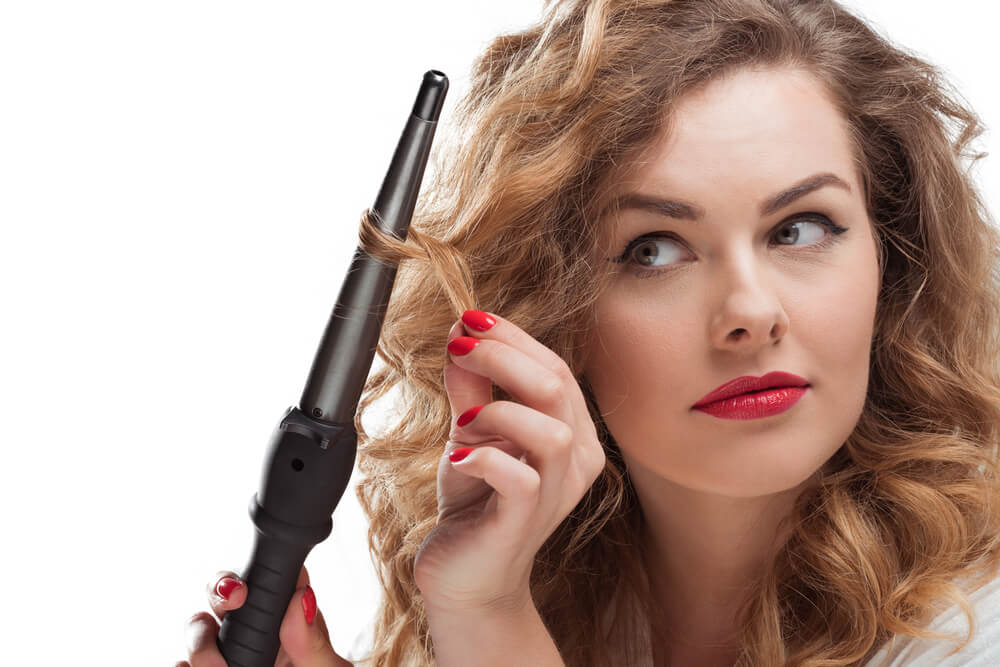
When curling with a wand, not only should the barrel that you’re using be suitable for your hair type, but you also need to consider the type of curls that you want to create.
In essence, the larger the barrel, the larger and softer your curls will be. Likewise, use a small barrel and your curls will also be smaller, tighter, and more ringlet-like.
Of course, whether or not your curling wand is tapered will also play a part in determining the type of curls you create. While cylindrical wands are great for forming uniform, symmetrical curls, a tapered barrel is better for casual, beachy-style waves. The waves that you create will start off larger at the top of your head before becoming narrower toward the ends of your hair, which results in a more natural-looking finish.
5. Dial Down the Temperature Whenever Possible
When curling with a wand, many people immediately crank their wand up to the highest temperature before getting started. If you can relate, it’s time to change your ways.
Ideally, you should be using as little heat as possible. As mentioned earlier, heat can really damage a person’s hair. So, if you can curl your locks with a lower temperature, then do so. Usually, those with fine or thin hair don’t require as much heat as those with thick or coarse hair.
How do you figure out how much heat you actually need to use when curling with a wand?
It’s simple – get yourself a wand that has adjustable heat settings. At Evalectric, many of our curling wands come with a temperature dial that allows you to adjust the temperature to suit your hair. We always recommend starting off with the lowest temperature setting and then gradually working your way up, until you’ve found a temperature that’s able to create perfect curls without causing unnecessary damage.
6. Section Your Hair
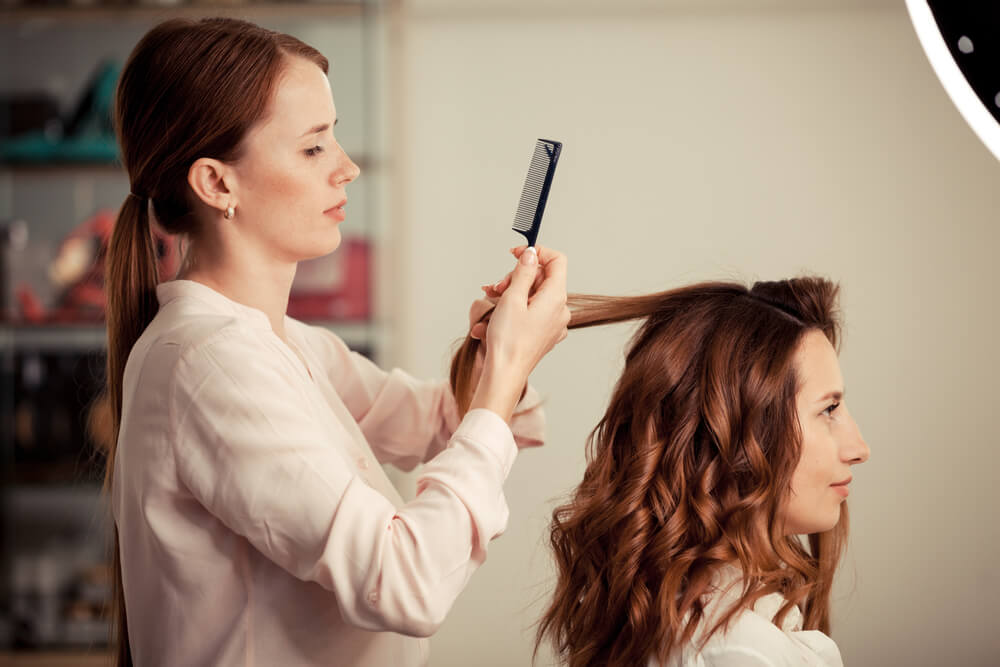
While you may be tempted to simply grab your curling wand and get curling when you’re in a rush, it’s always important to take the time to first section your hair.
There are two ways to do this; vertically and horizontally. Vertical sections will leave you with gentle waves, while horizontal sections provide more volume.
Whichever you choose, make sure that the sections you curl are an appropriate size. If you have thick hair, then you should only be curling 1-inch sections at a time. On the other hand, those with thinner hair could get away with sections that are between 1-2 inches.
Generally, the larger the section of hair that you curl, the softer the resulting wave will be. If you’re hoping for tight and dramatic curls, then go with smaller sections.
7. Start at Your Roots and Keep Your Wand Pointed Downward
When curling with a wand, people often have their barrel pointing in random directions. However, for the most effective technique, try to keep your wand pointing downwards.
This basically means holding the wand upside down, so that the tip of the wand is pointing toward the direction in which your hair naturally falls.
It’s usually best to start at the roots when using a curling wand. So, keep the base of your wand aligned with your roots, and then wrap your hair around the wand. Wrap the base of the wand first before working your way to the tip.
This will leave your curls flowing beautifully and looking natural.
8. Release Each Section After 5-8 Seconds
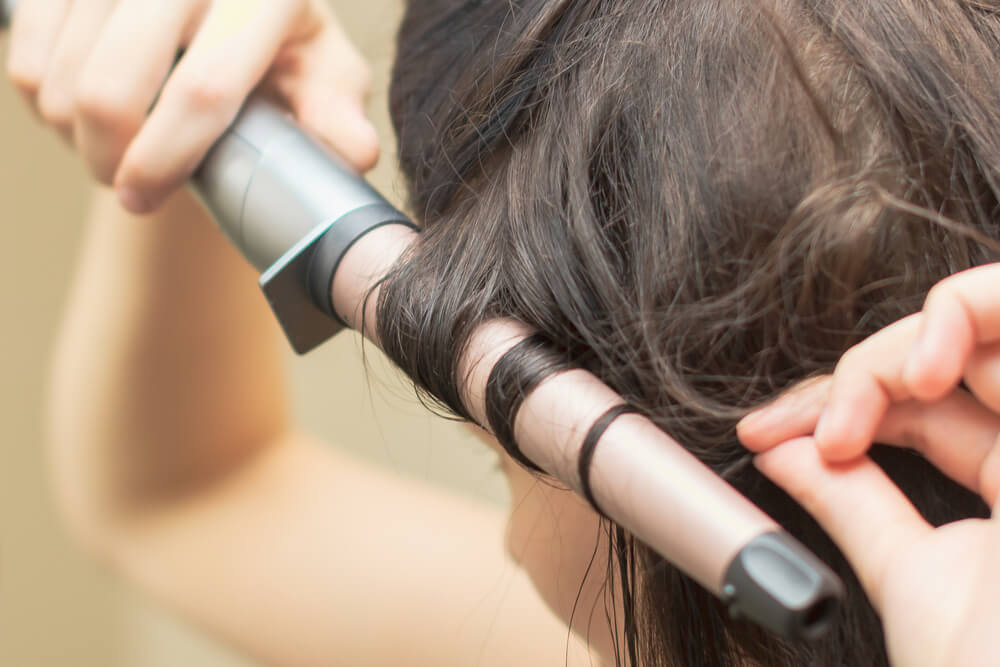
So, how long should you hold your hair against your curling wand for before releasing it?
This all depends on your hair type. Those with thin or fine hair will likely only need to keep their wand in place for about five seconds at a time. Hold your hair against the heat for any longer and you’ll cause damage to your delicate strands.
On the other hand, if you have thick hair, five seconds may not be enough. Give yourself a bit of extra time, removing the wand after 8 seconds instead.
Once you remove the wand, cup your newly formed curl in your hand for another 3-5 seconds before letting it drop down. This will help each curl to better hold its shape.
9. Experiment With Curling in Different Directions

Did you know that curling your hair in different directions can give you a completely different look?
Curling all of your hair in the same direction will result in curls that effortlessly blend together. However, mix things up a bit and curl each section in a slightly different direction and your final look will be more tousled.
That said, when working with the sections of hair that frame your face, it’s usually best to wrap these strands away from your face. If you end up curling them forward instead of backward, then your curls will close in on your face, hiding all of your beautiful facial features!
10. Wait Until Your Hair Cools Before Brushing it
While it can be tempting to brush your hair as soon as you’re done curling it, it’s always a good idea to wait until your hair has completely cooled. Giving your curls some extra time to set will keep them in place for longer, which is exactly what you want.
Once your hair has fully cooled down, brush it in small sections. Start by brushing the ends of your hair before moving the brush up to the top.
As you brush your newly curled locks, be gentle. If you notice some frizz forming, then now would be a good time to smooth a small amount of hair serum over your hair.
11. A Spritz of Hairspray Will Lock Your Curls in Place
After all of that time and effort you’ve put into curling your hair, it only makes sense to try to ensure that those curls stay in place for as long as possible!
Pinning your curls after curling with a wand can help with this, but this is a pretty labor-intensive method. It’s not ideal if you’re short on time.
Fortunately, there’s another easy way to lock your curls into place. All you need is a good hairspray! You can then either spritz the spray over your locks or give your hairbrush a spray before running your brush through your curls.
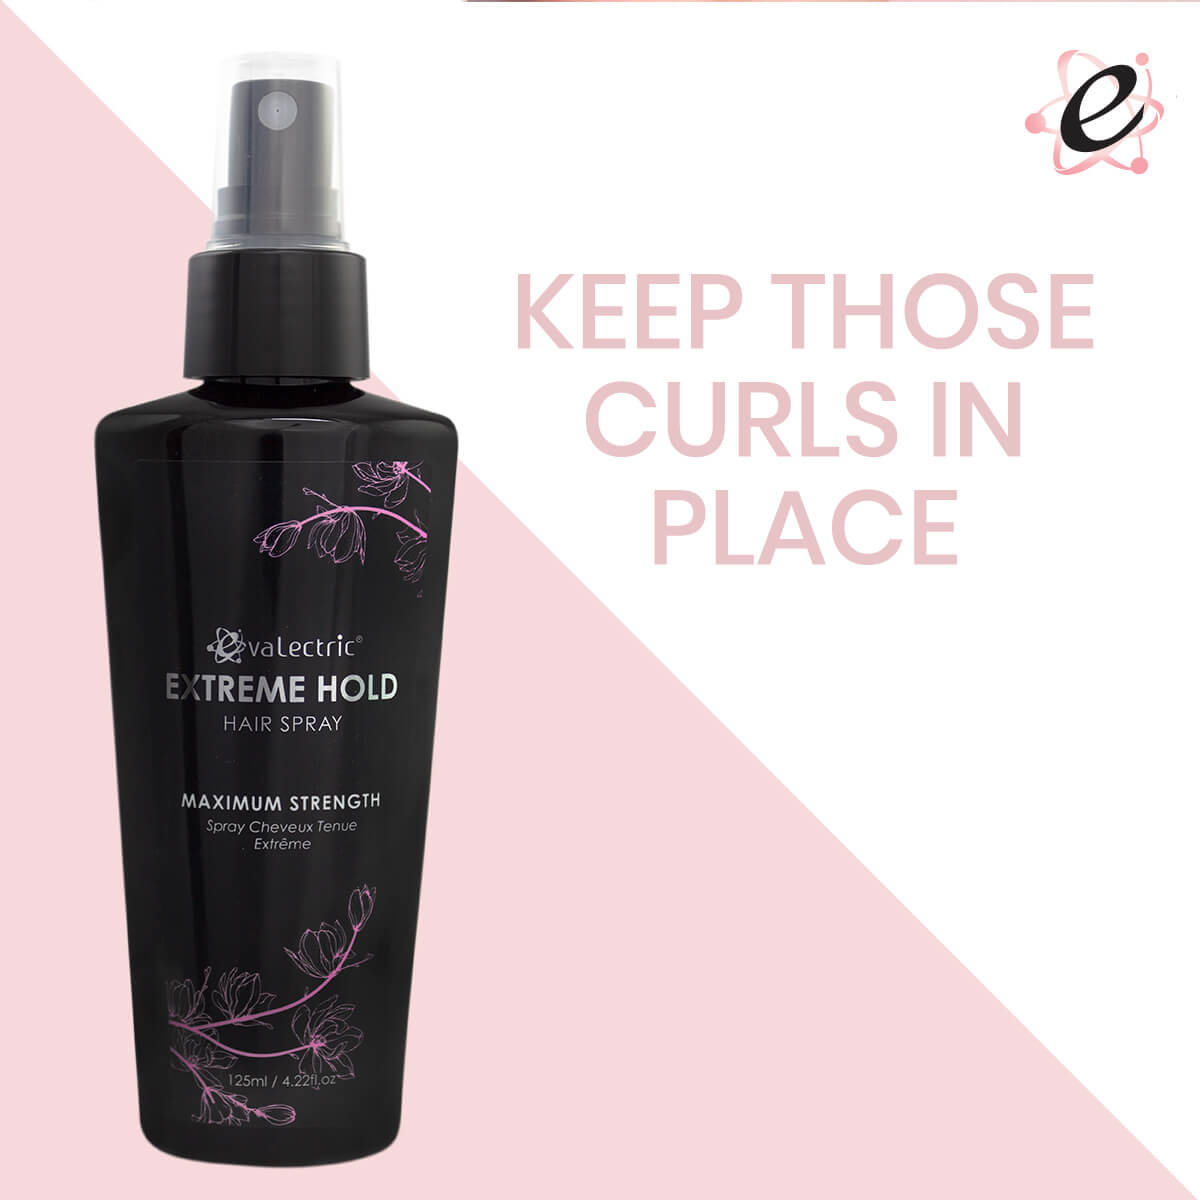
If you don’t yet have a go-to hairspray, try Evalectric’s Extreme Hold Hairspray. A favorite among pros, this formula will keep your style in place while minimizing frizz and boosting shine!
12. Look After Your Curling Wand
Our final curling wand tip for you is an important one; make sure that you look after your curling wand properly. This will prevent oil and product residue from building up on the barrel, therefore ensuring a perfect curl each and every time you use your wand.
To clean your curling wand, simply run a wet washcloth around the barrel while it’s still warm (but not hot!). If any styling product residue is refusing to budge, give it a little scrub. You want the barrel to feel smooth and residue-free so that your hair doesn’t end up snagging on it the next time you use it.
Summary
As you can see, curling with a wand isn’t too difficult, so long as you know what you’re doing. Prep your hair correctly, pick the right curling wand for your locks, stick to tried-and-tested techniques, and you’ll quickly master how to use this versatile styling tool.
Click here to browse Evalectric’s bestsellers for more pro-quality hair styling and care products.


